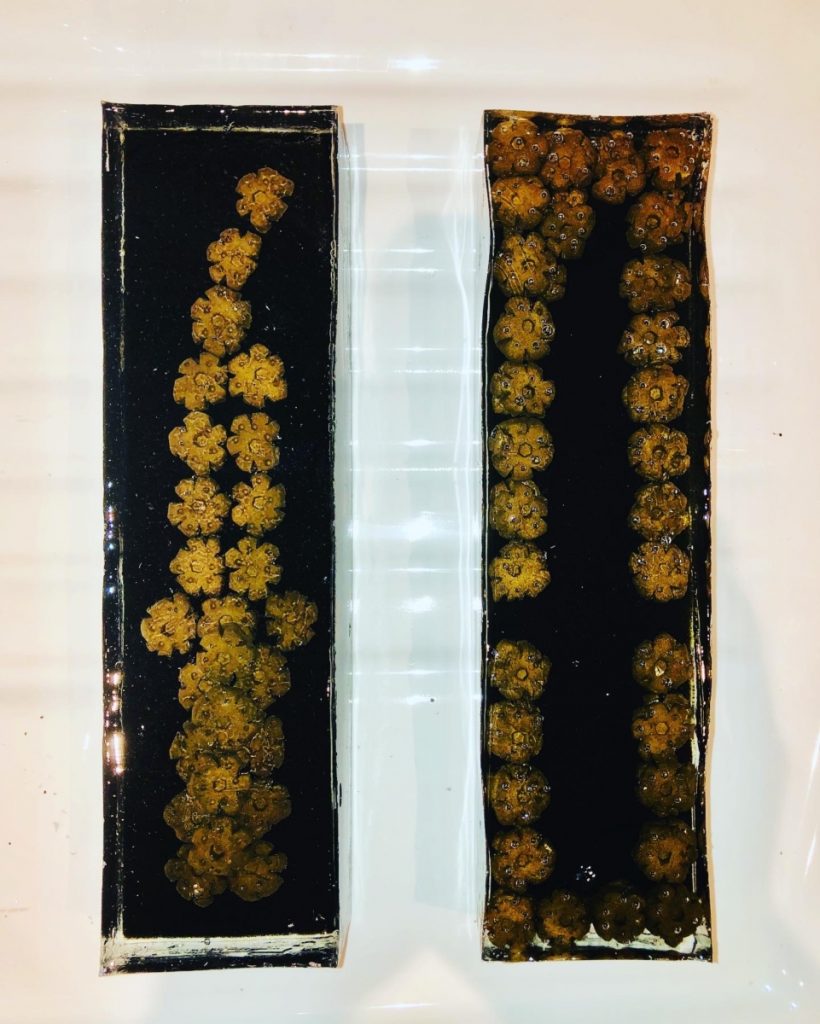
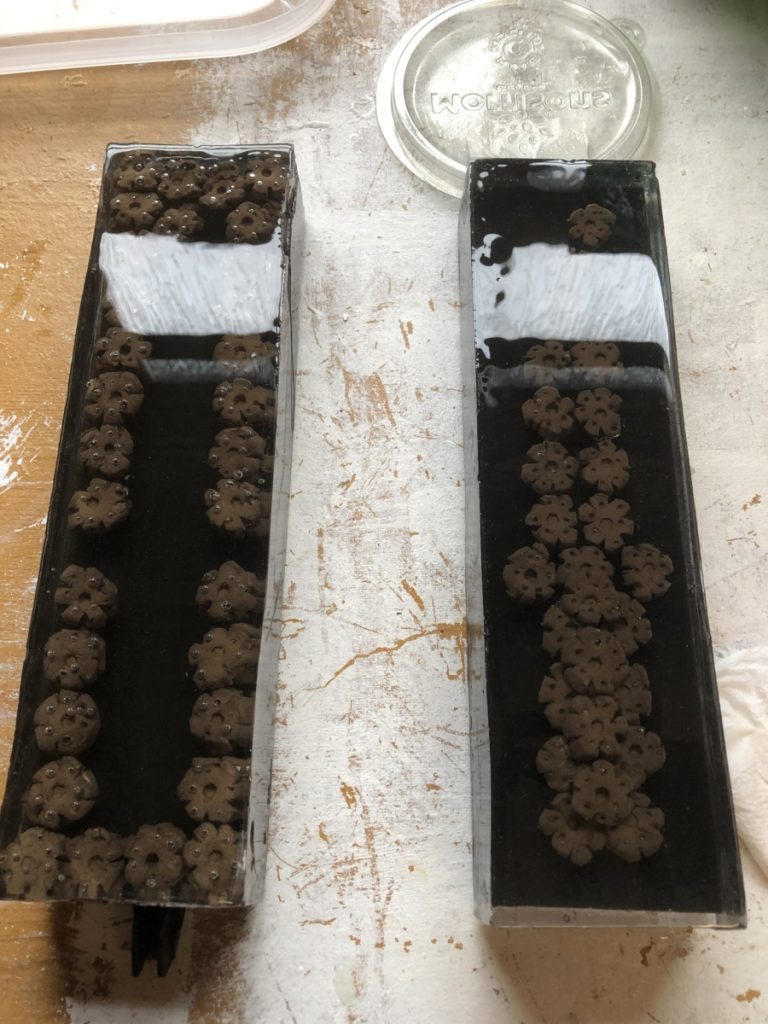
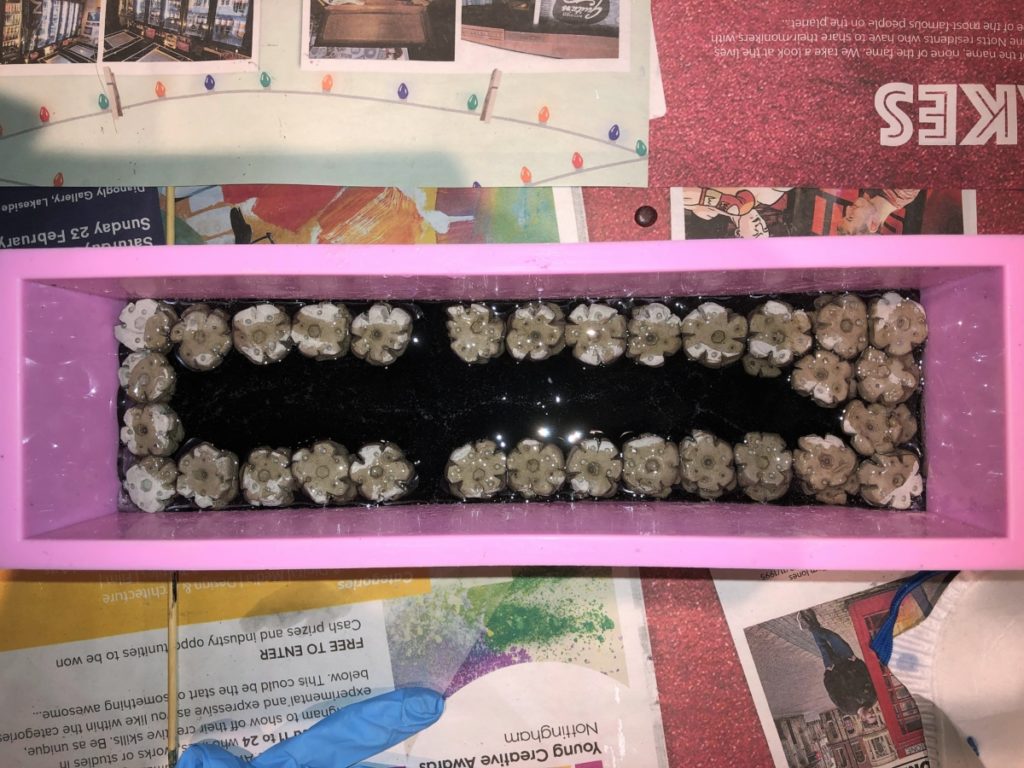
For a recent project I’ve been experimenting with casting epoxy resin. These pieces were a response to an exhibition called Justice: restraint/constraint at the National Justice Museum in Nottingham. I hadn’t used resin before and suffice to say that it was a long learning curve but I’ve finally achieved an outcome that I’m pleased with.
Resin brings many challenges but the initial one for me was the environmental impact of using it. There are ‘bio’ resins available but these are way more expensive. I did purchase some bio resin for use in my studio though as working with non-bio resin meant working in my garage with a respirator on which was far more cumbersome. For bulk use I obtained clear casting resin from Graham Roberts in Nottingham – a litre was about £7 (mixed with 2-3% hardener).
The main lessons I learnt from using resin are outlined below:
- Do not touch the resin AT ALL during the curing process and even when the resin is dry finger prints can still be left on the surface which will mean sanding down and applying more resin to remove them. I wore latex gloves at all times and handled the resin at the edges and at places that would not be visible once the piece was displayed.
- Latex moulds are superb and I purchased a rectangular one that was actually a soap mould. The set resin comes away from latex very easily and the mould is easy to clean ready for the next casting. Just be aware that the latex can flex during casting so mine was placed in a wooden box to ensure that the shape was maintained.
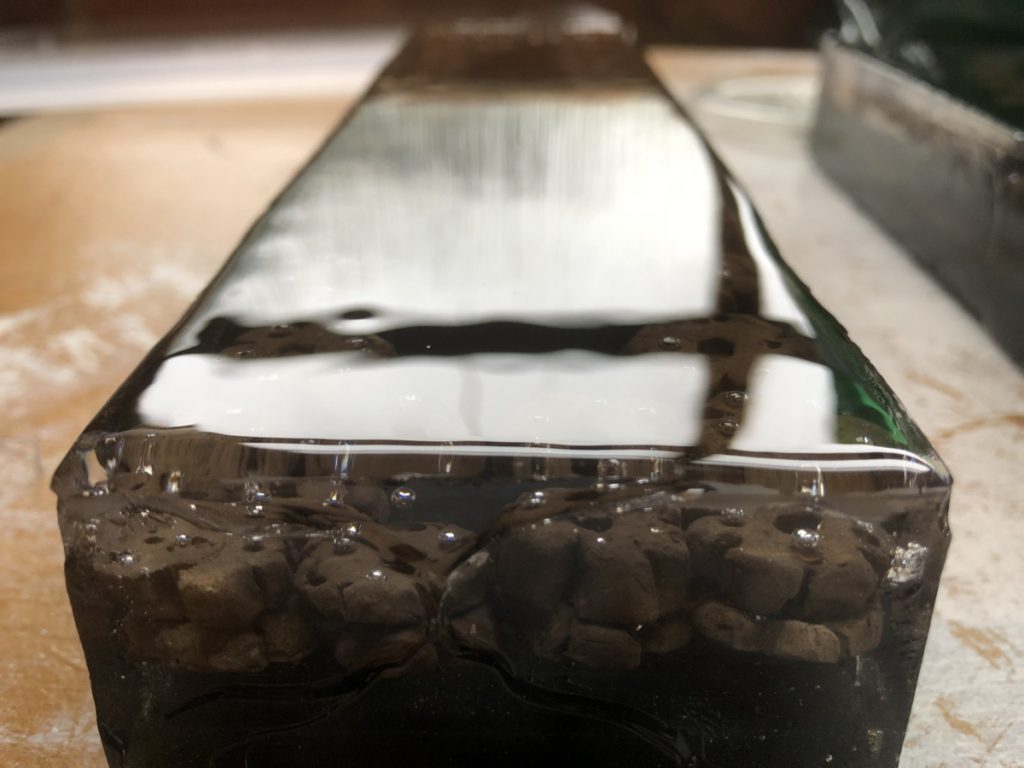
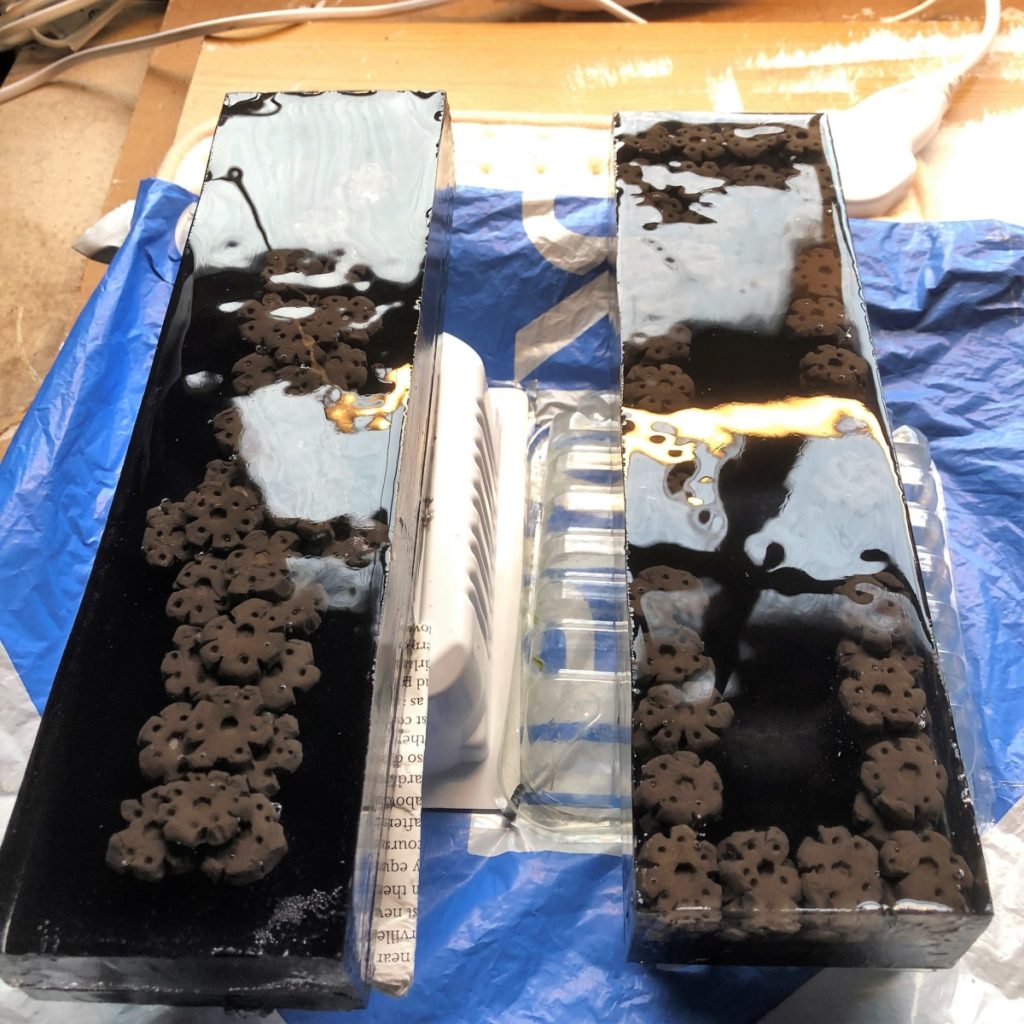
- Set resin is left with a meniscus on the upper surface which can be a problem if that is the surface you want to display, as was the case for me. I found that if you lightly sand the edge of the meniscus with 1000 grade sandpaper to achieve a smooth edge you can then very carefully add a new layer of resin to create a positive meniscus and a very professional result (see the images below). Just be very careful not to add too much so that it drips down the edge of your piece.
- Bubbles can be a problem in the resin and a blow torch can be used to lightly heat the setting resin to remove these. However, I found it necessary to keep checking on the resin at it set and popping any bubbles manually with a pin if required.
- I created my piece using several layers as it was about 5cm thick. Building up layers is necessary as otherwise the resin may crack. Layers work fine but I added black acrylic paint to the lower layer to create a dark back drop. This layer set slower and contracted as it set, hence I’d recommend adding as little paint (or other material) to the resin as possible to ensure the qualities of the resin are minimally affected.
- Keep the resin warm to speed up the hardening process. I used a warming pad set to 20 degrees centigrade which seemed to work fine.
Good luck if you are new to resin and I hope this advice is useful.
