I took it upon myself to perfect emulsion transfer of photocopied images onto canvas a few weeks ago. This is a technique we learnt at college and it immediately struck me as having great potential. I particularly like the way that the results are unpredictable, individual and have a nice retro aesthetic. However, previous attempts have been very unpredictable with only a 50% success rate – or at least I felt only 50% of the outcomes were worthy of showing in public. With several exhibitions coming up this year I decided to try to perfect the technique so that I was in control of the outcome rather than the materials.
There are several useful videos on YouTube but even following these I was not getting great results. So after much trial and error I’ve arrived at a process that works 80% of the time. There is still some degradation of the image but this is now under my control which is exactly what I was aiming for. My technique is below in case you want to try it yourselves:
- Obtain a good quality laser photocopy of the reversed image you want to transfer – I have found that black doesn’t transfer too well so keep that colour to a minimum if possible
- Trim away any unwanted white space around the edges
- Coat the canvas (or other substrate, though I haven’t tested others) AND the photocopy with emulsion and smooth it out to leave an even coat on both surfaces – use a fine brush to avoid streaking
- Immediately put the photocopy on the canvas – use your hands to gently smooth it out from the centre outwards
- Using a rubber printing roller to smooth the paper out from the centre outwards – ensuring good adhesion and remove any bubbles
- Leave to dry – I found overnight (or more than 4 hours) is best as it ensure the emulsion doesn’t come away
- Wet the paper with a mist spray and rub off the top layer of paper across the entire image and leave to dry – don’t go to deep on the first rubbing
- Wet the paper again and rub off more paper and leave to dry – circular movements with the palm of one hand works well but watch very carefully for paper coming completely away
- Wet very slightly and rub off more paper – use fingers now and watch very carefully for paper coming away, if this happens stop!
- Continue this sequence until you are happy with the result
- Varnish with matt or gloss varnish – this does seem to remove any remaining traces of the paper
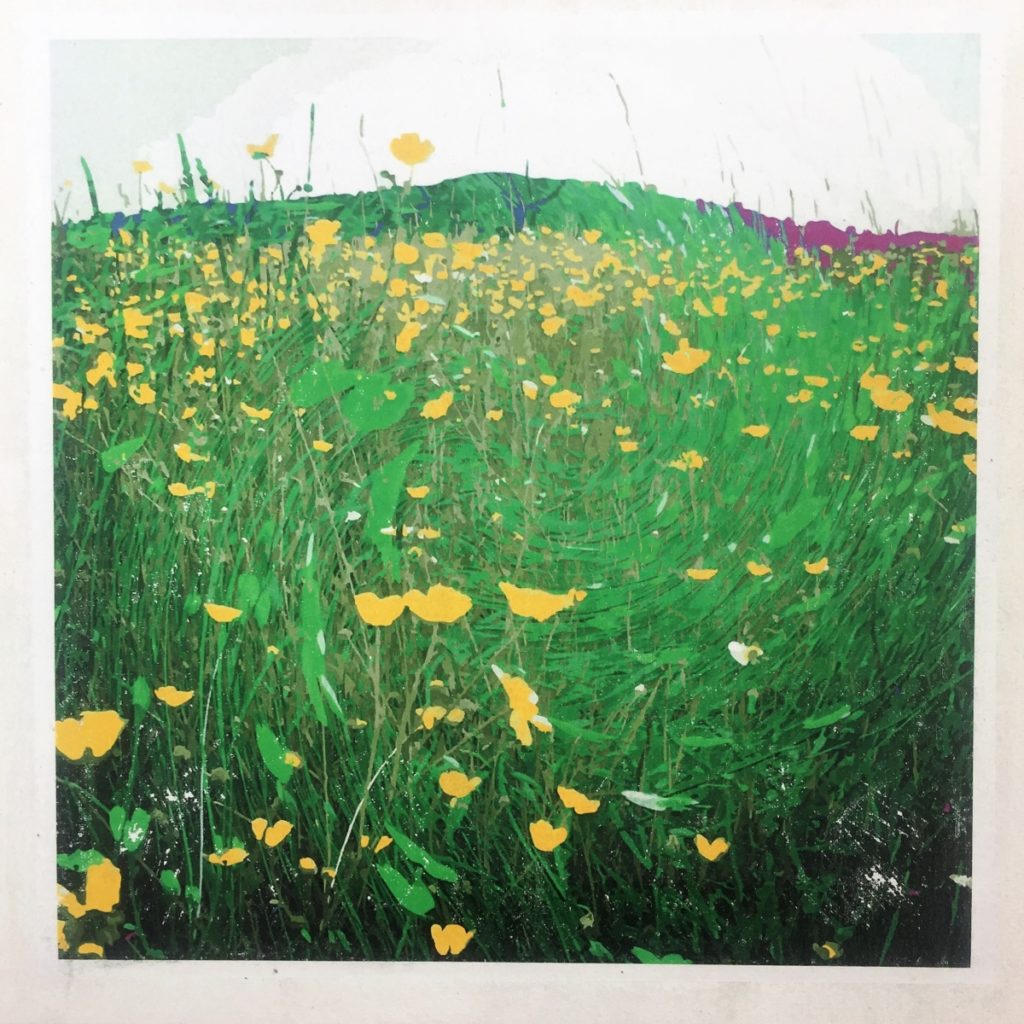
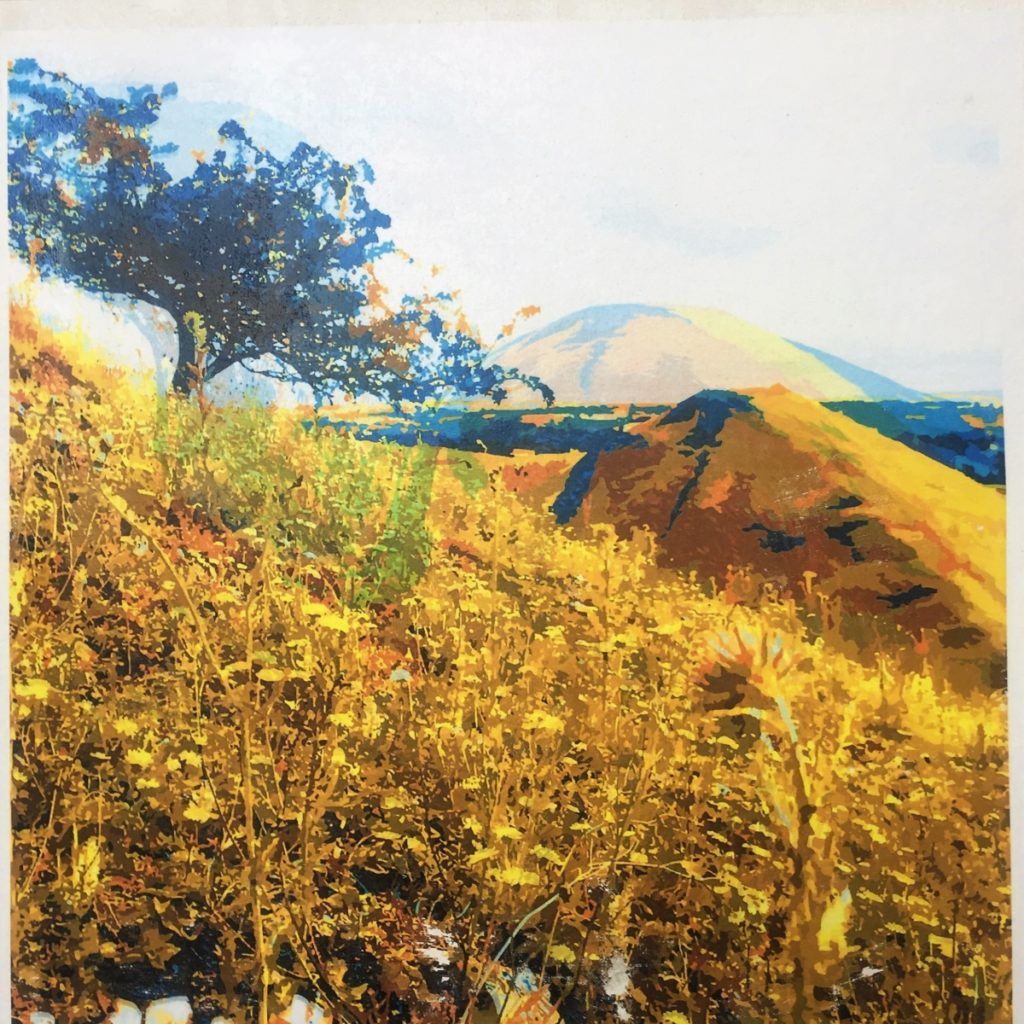
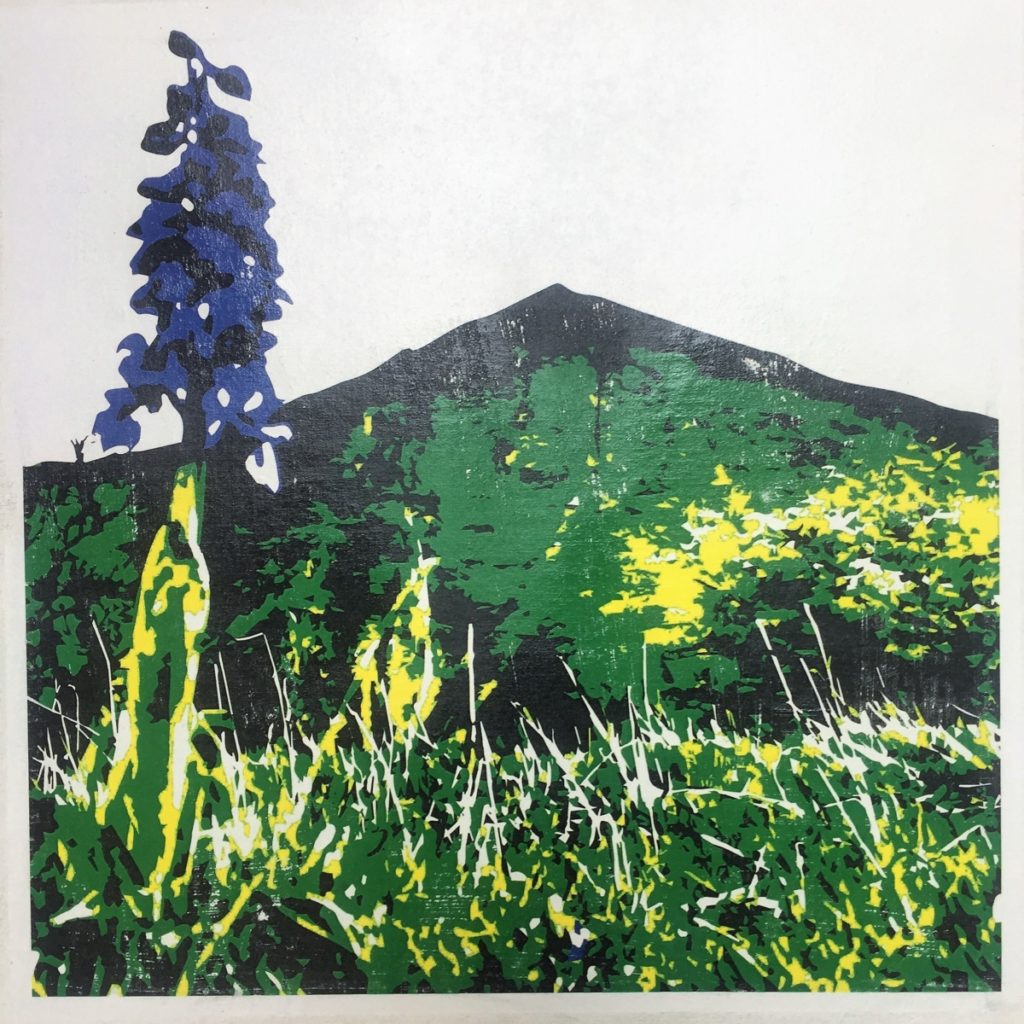
I hope that is useful as it’s worked for me. Some of my prints are below. You’ll see that they do have some degradation where the entire toner has been removed but this was pretty much intentional.


