Digital drawing ideas
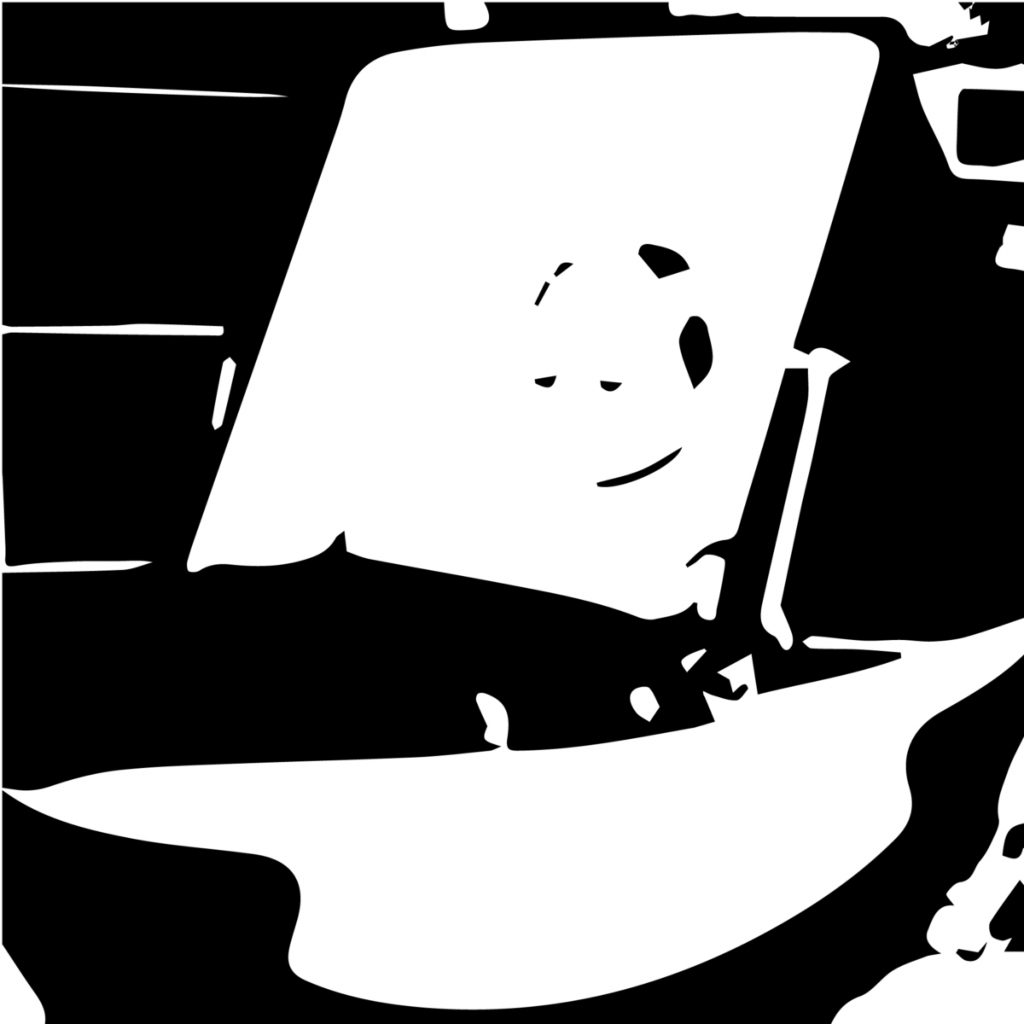
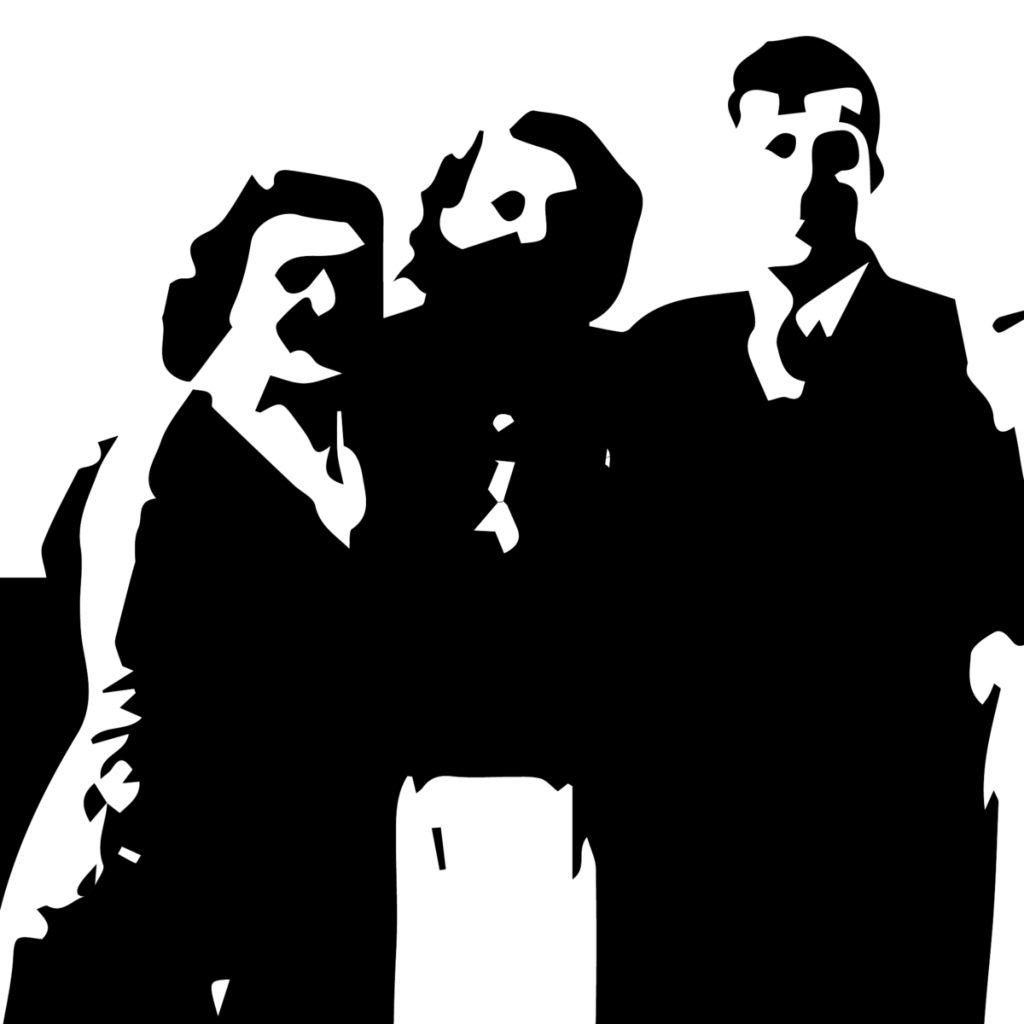
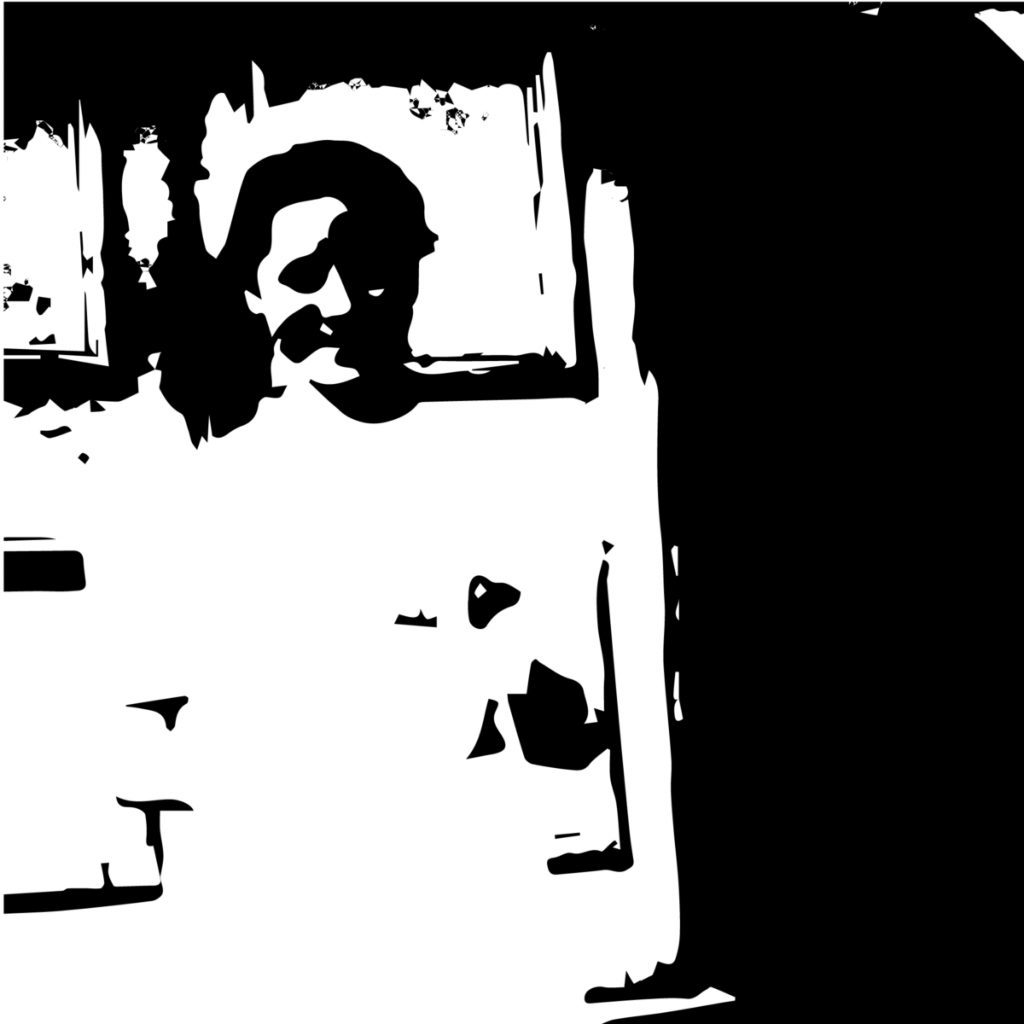
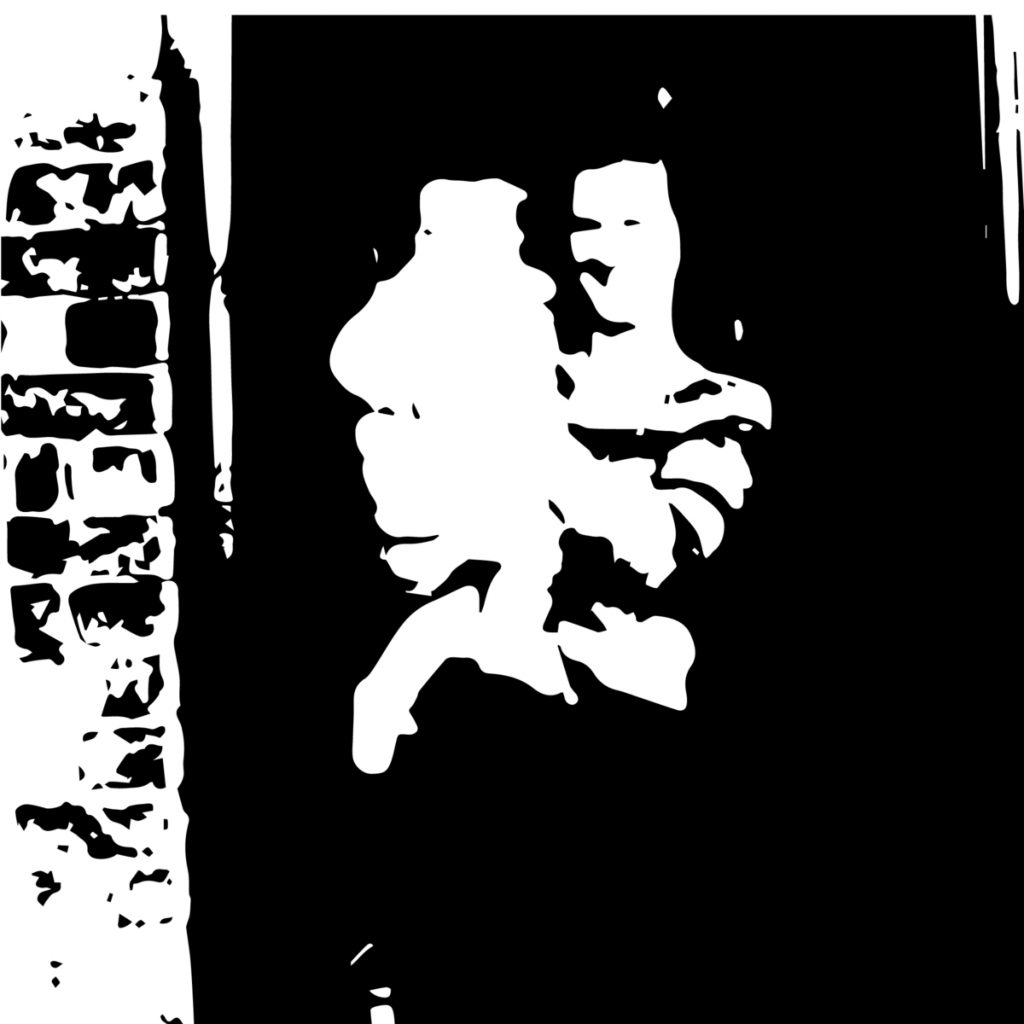
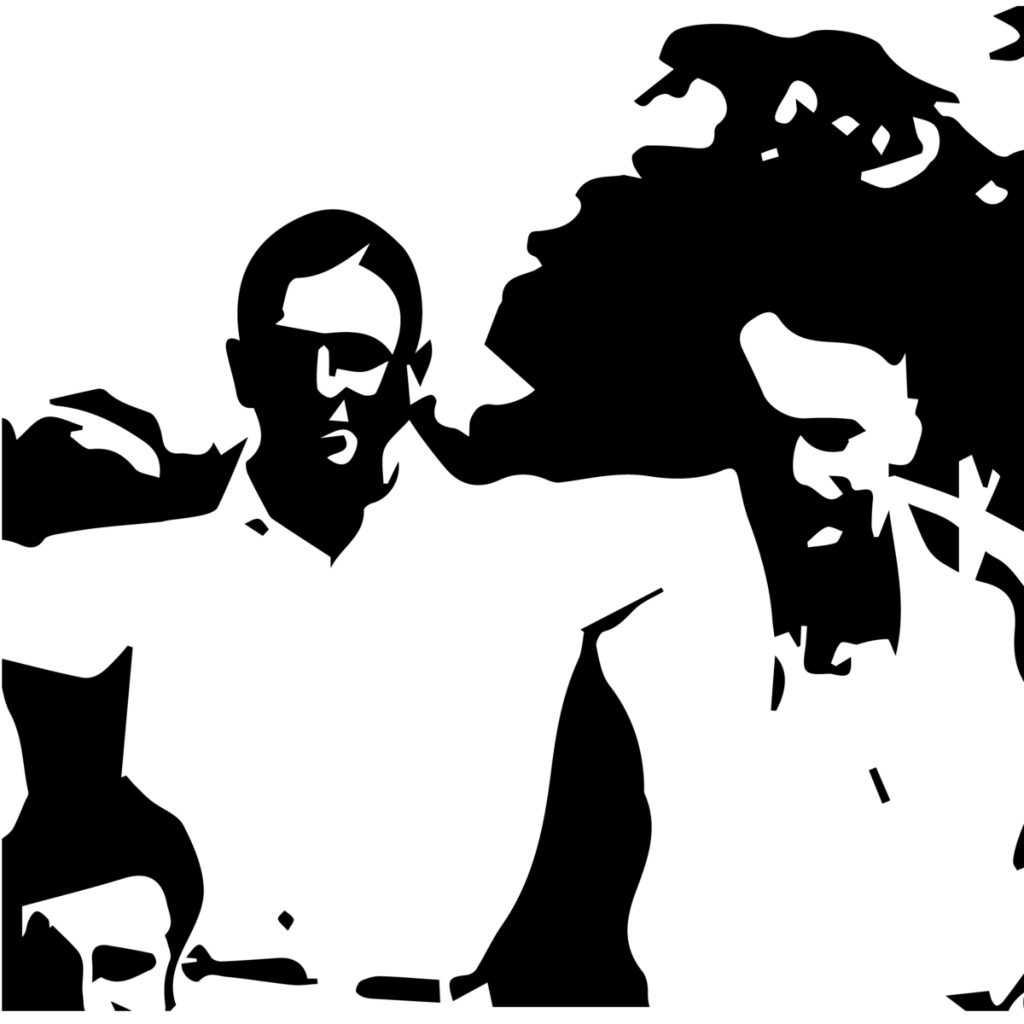
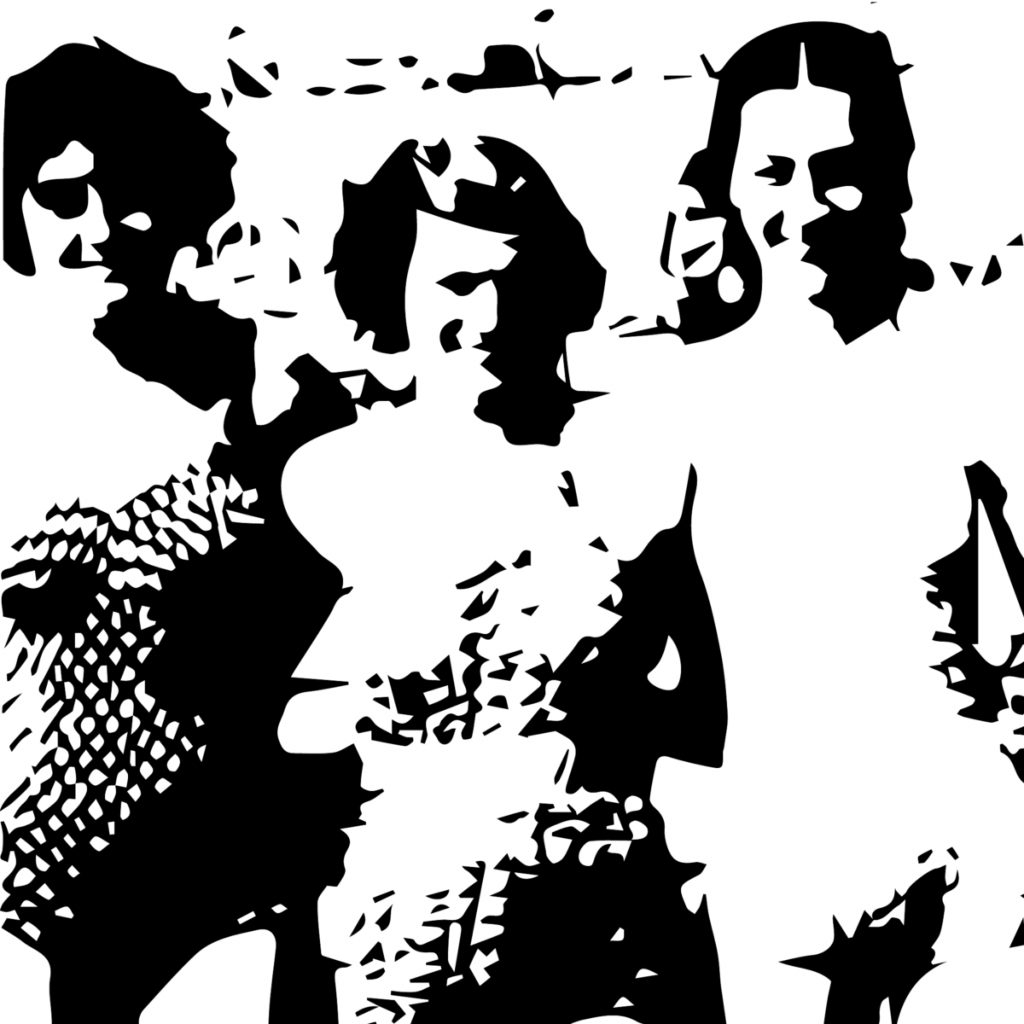
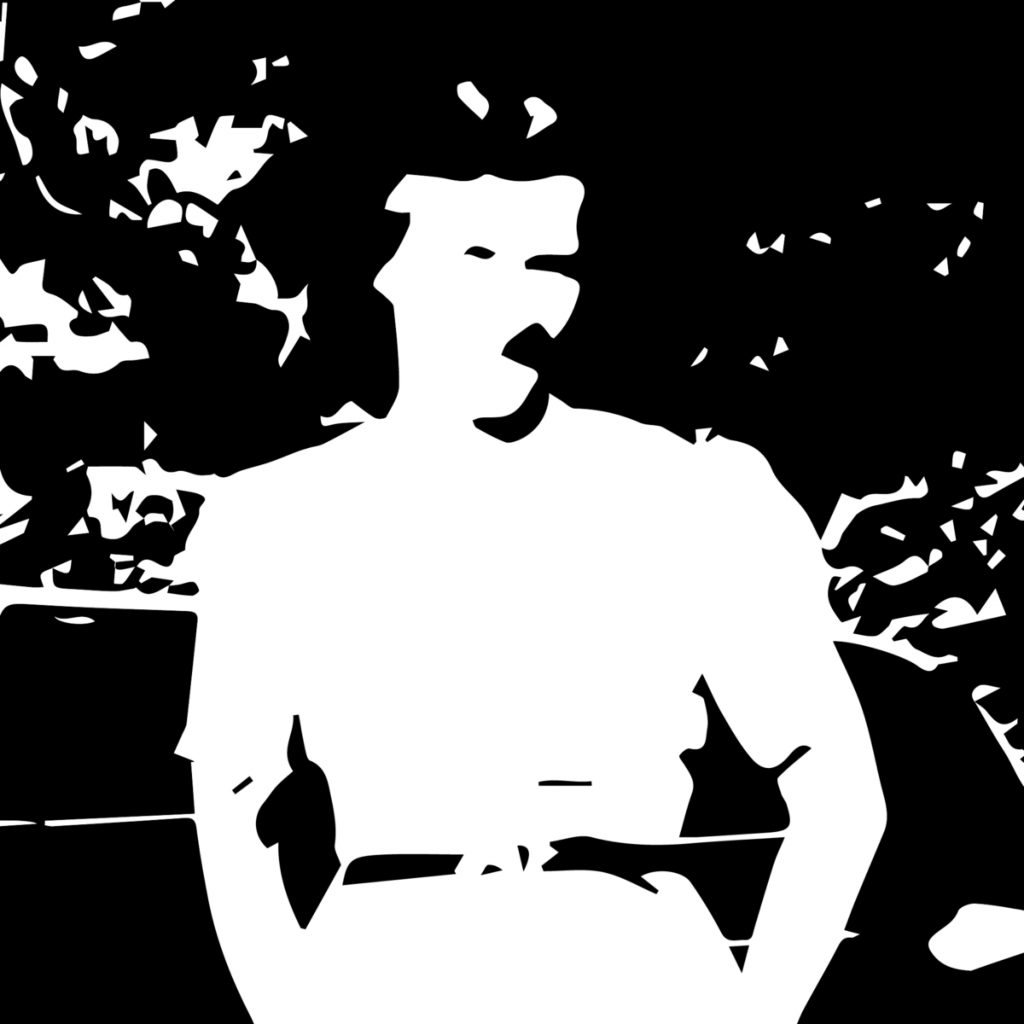
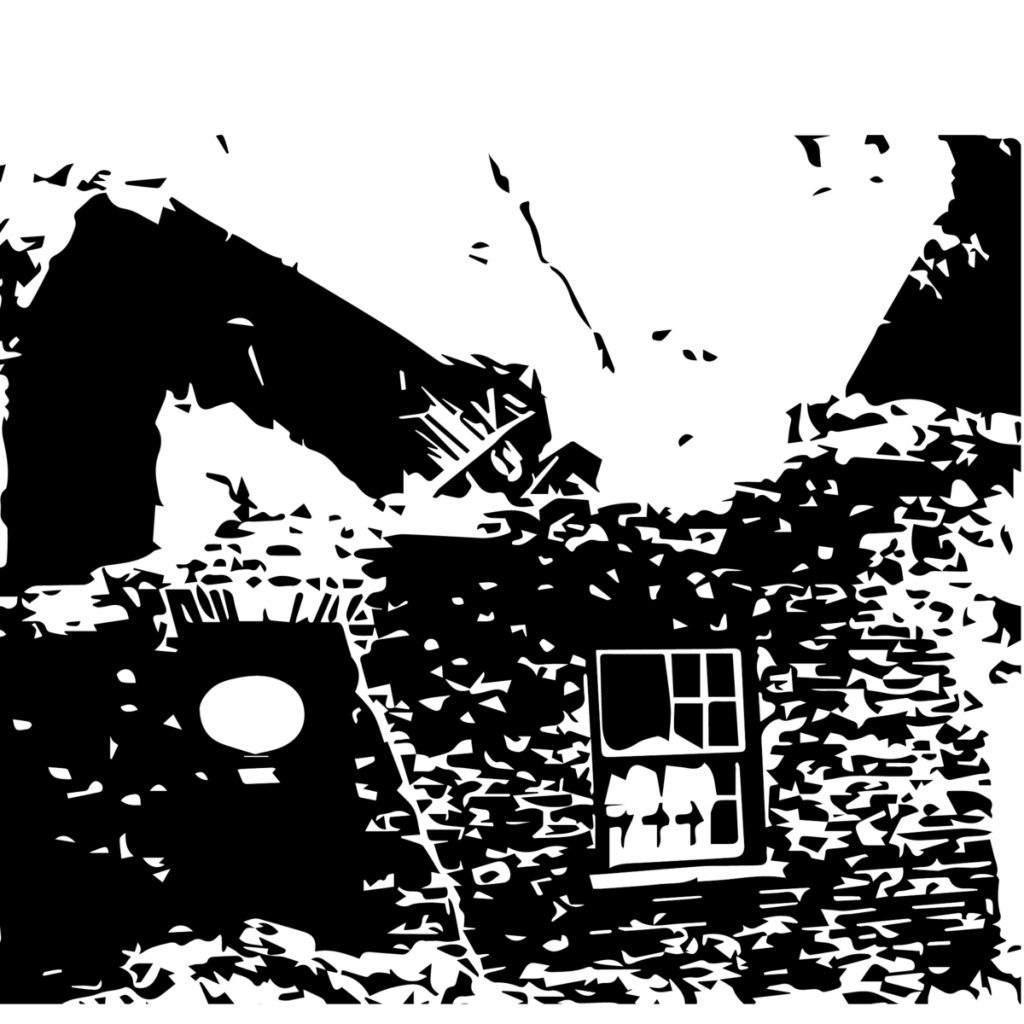
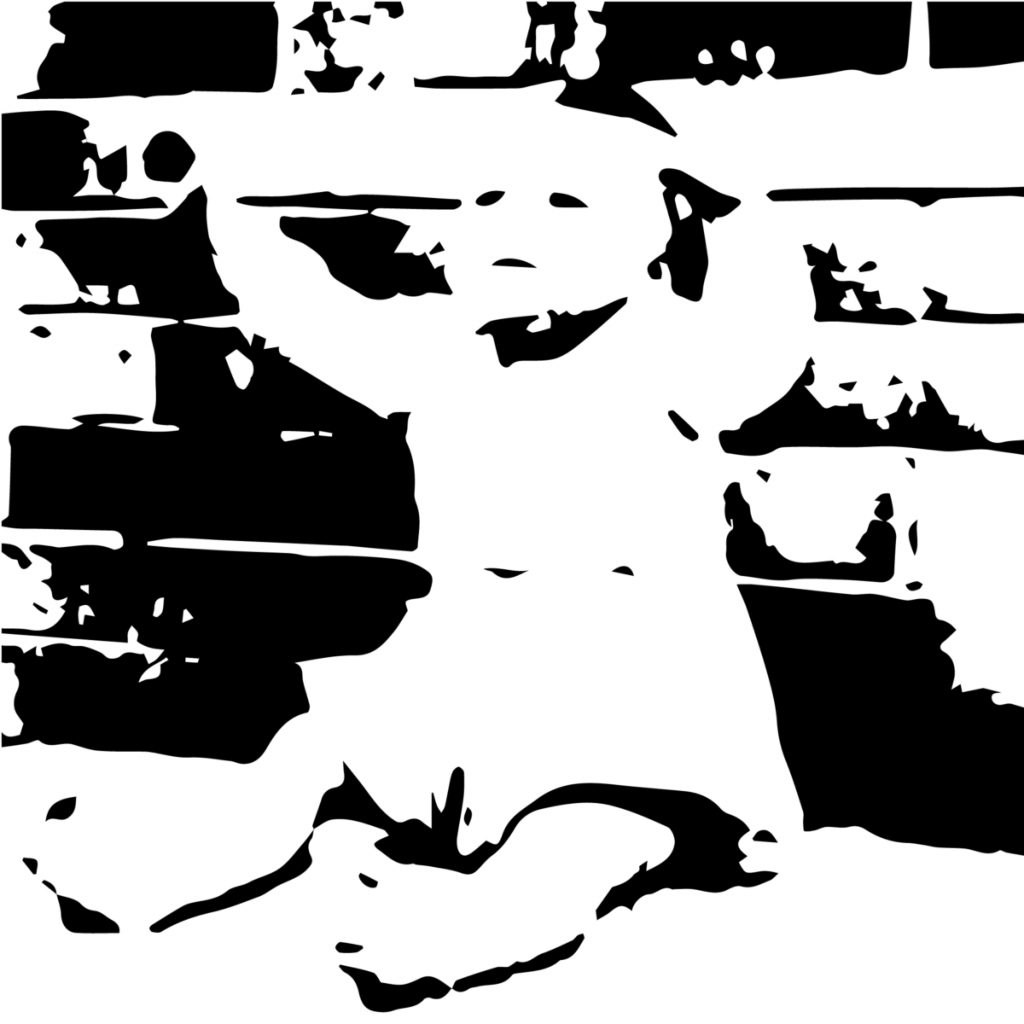
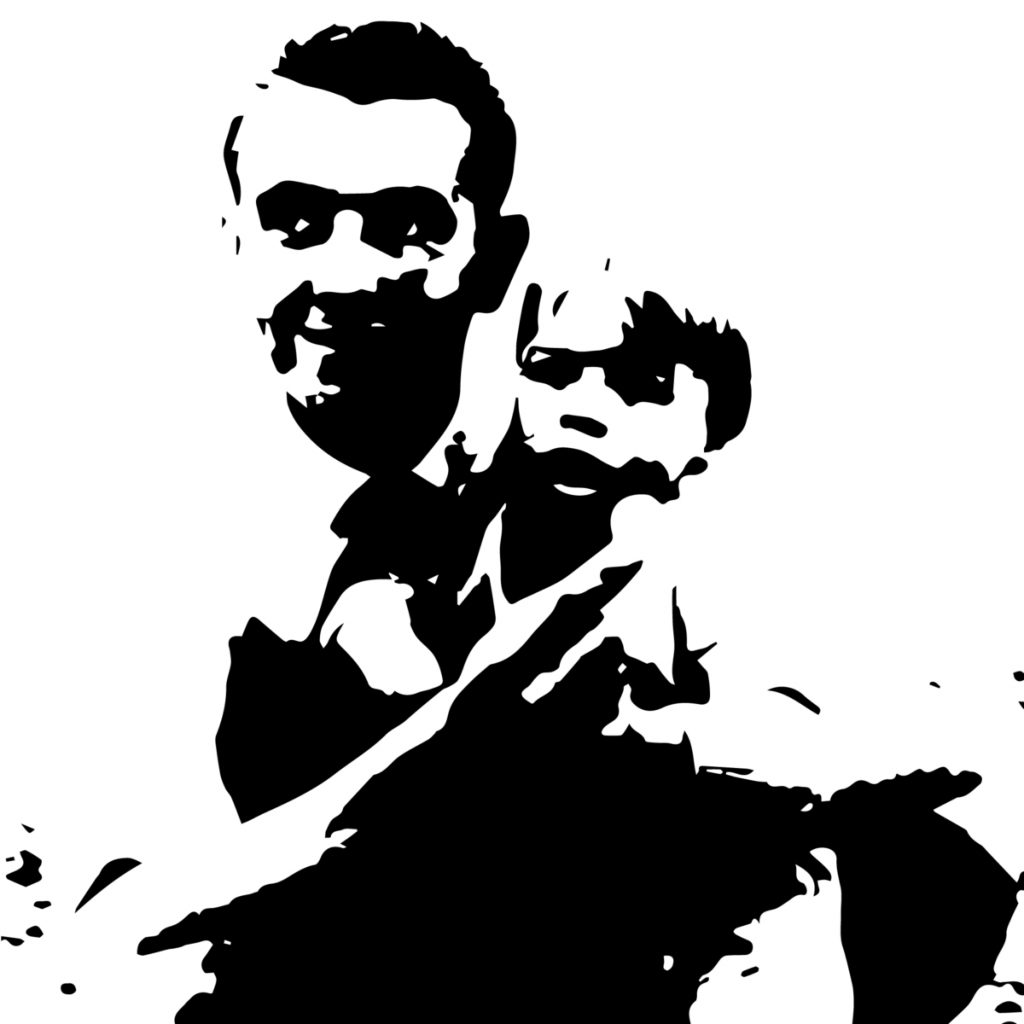
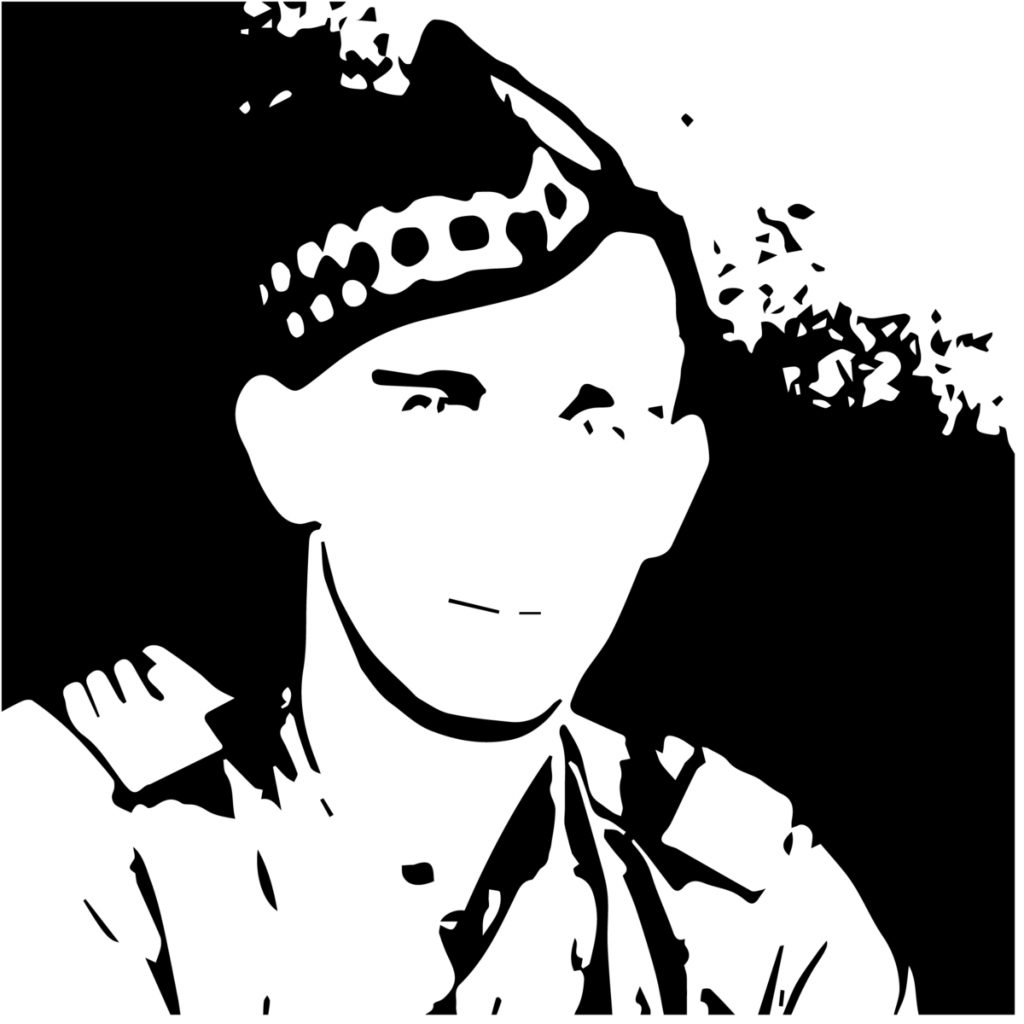
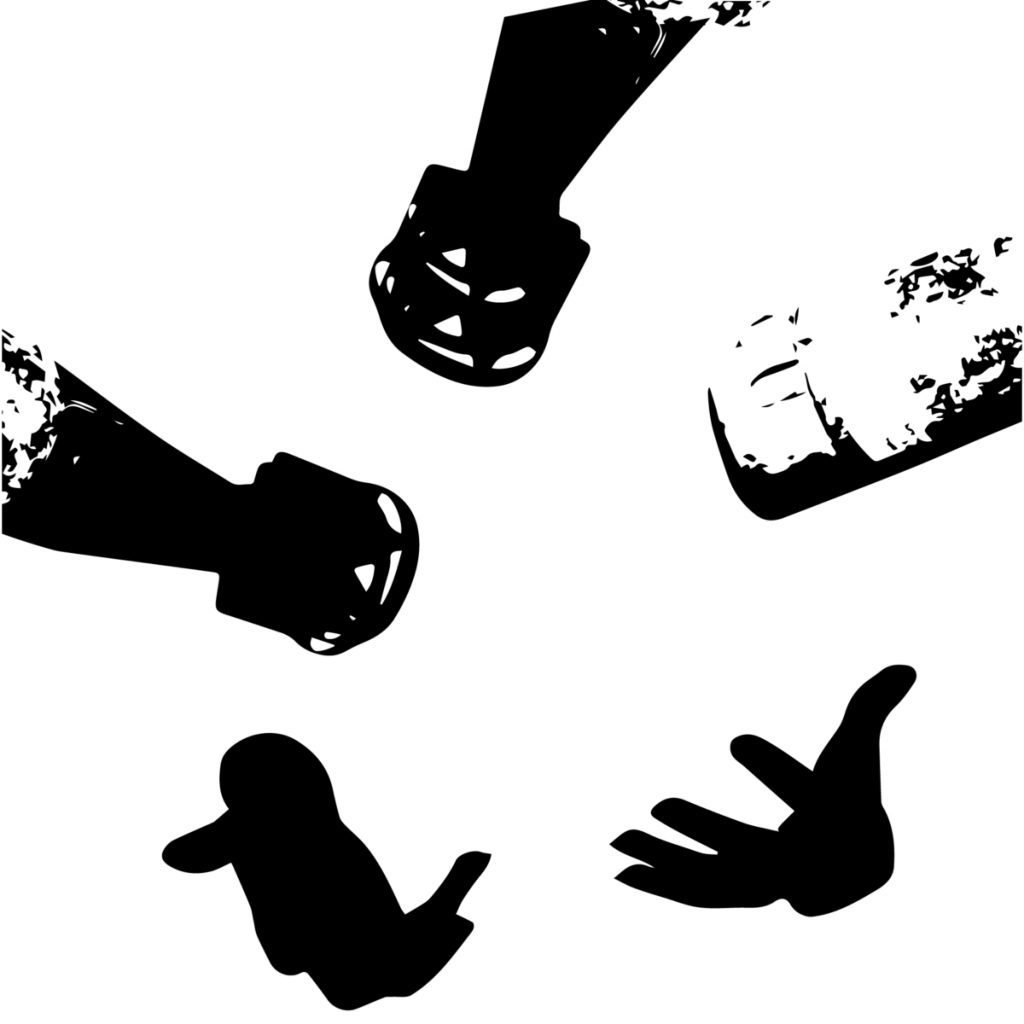
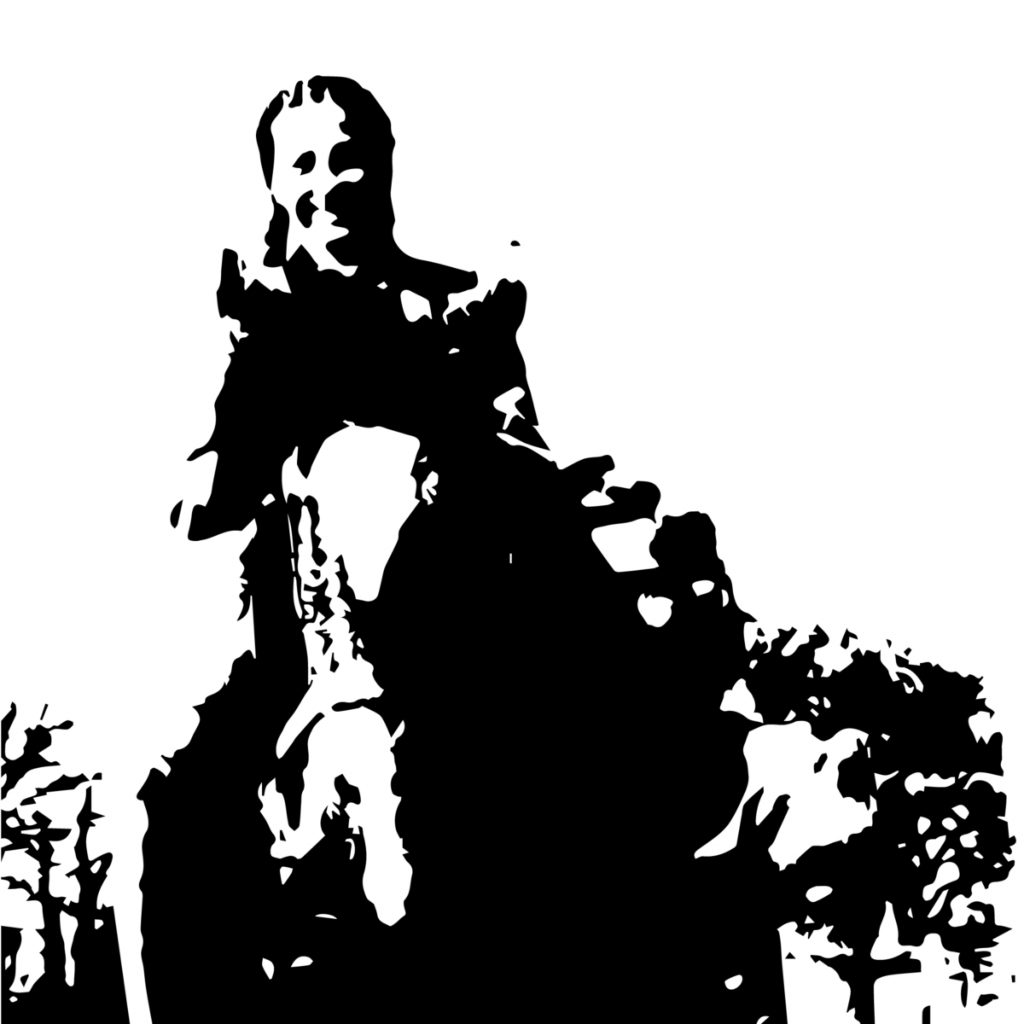
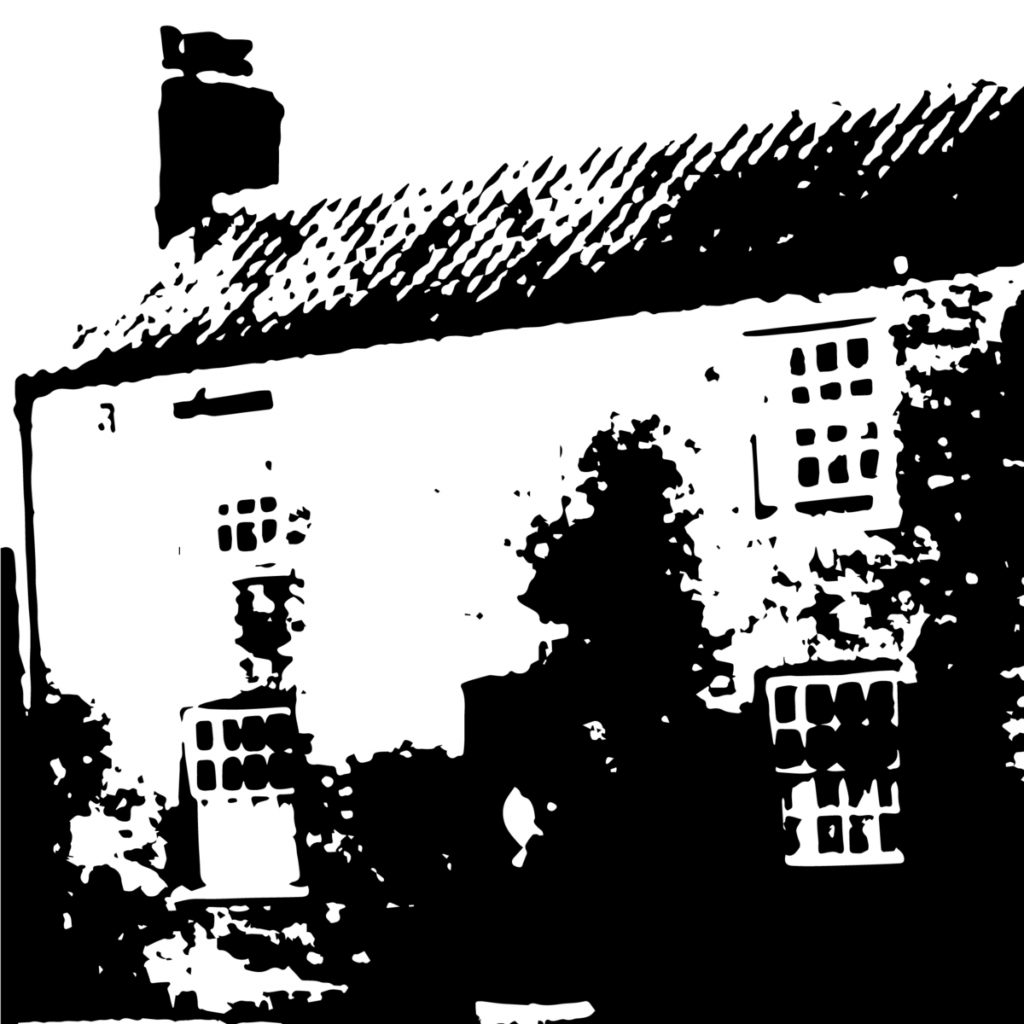
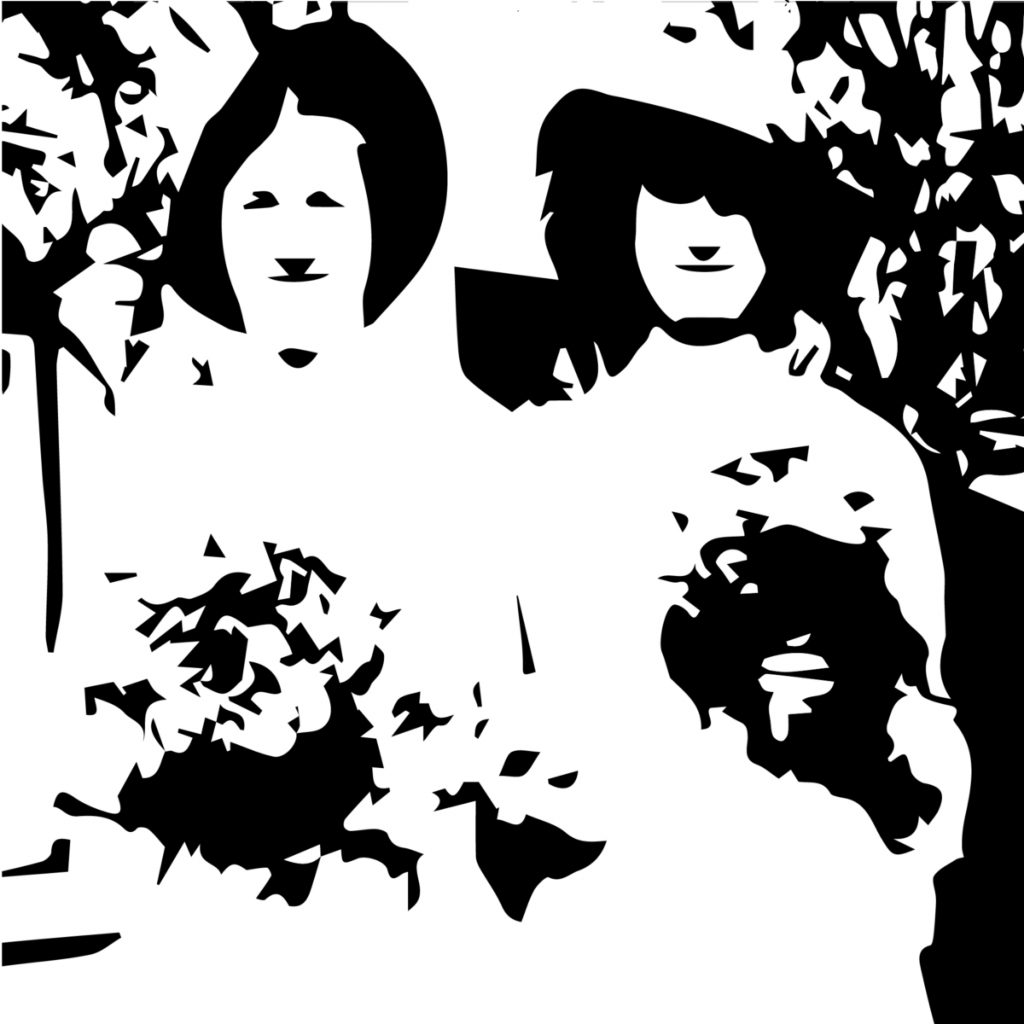
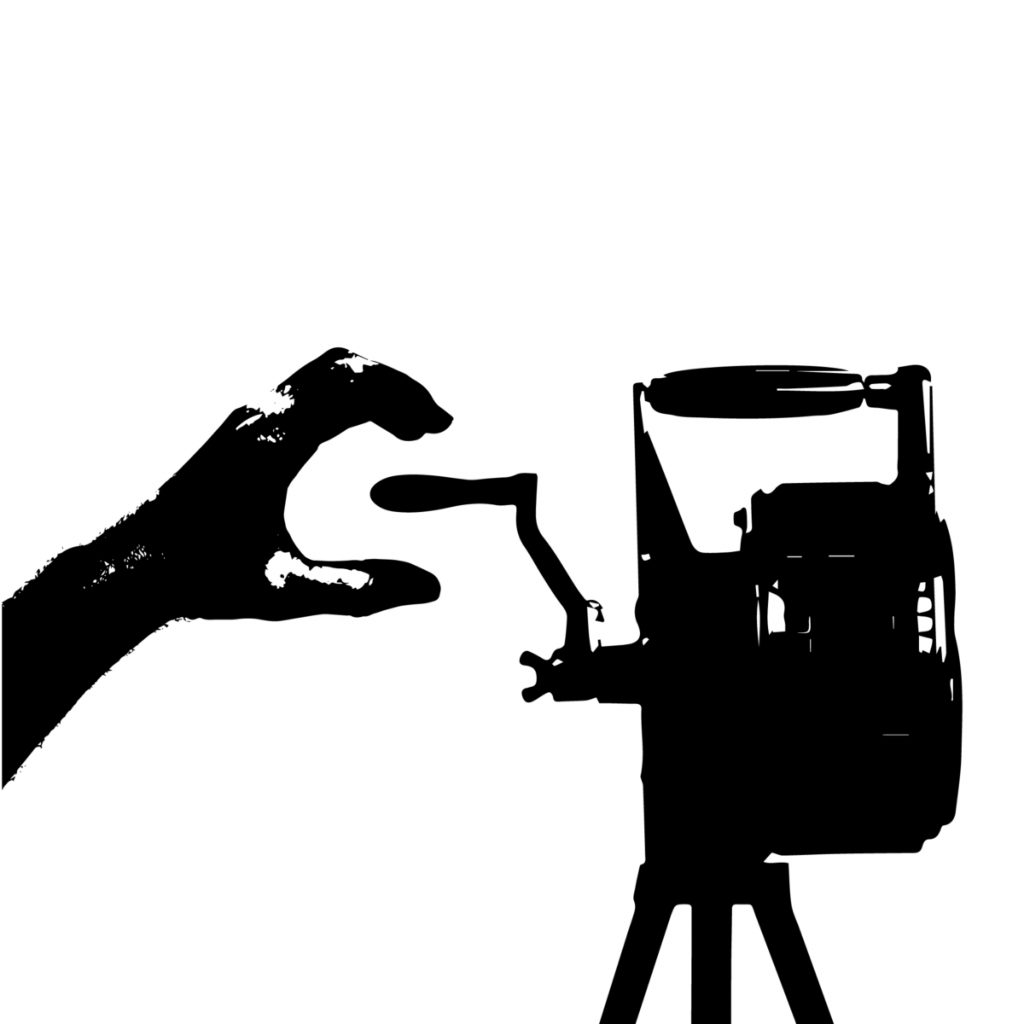
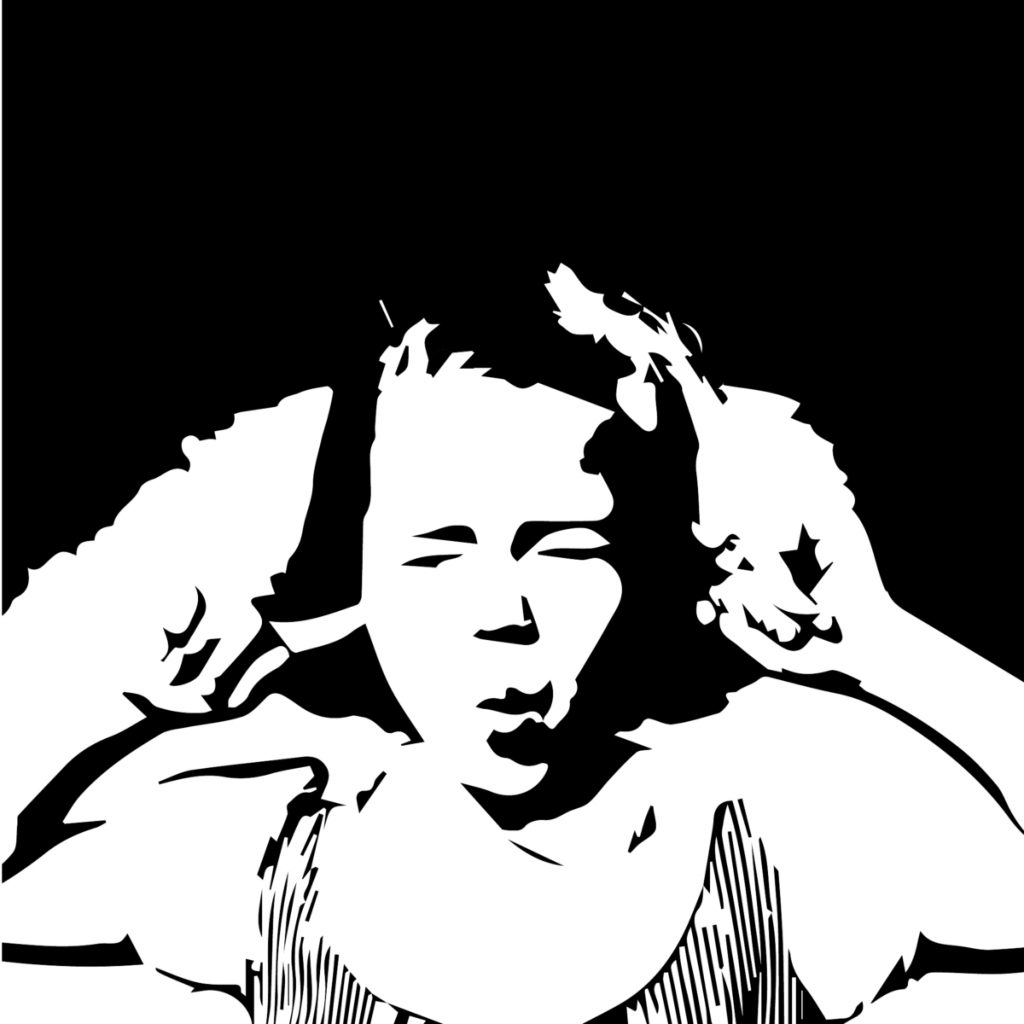
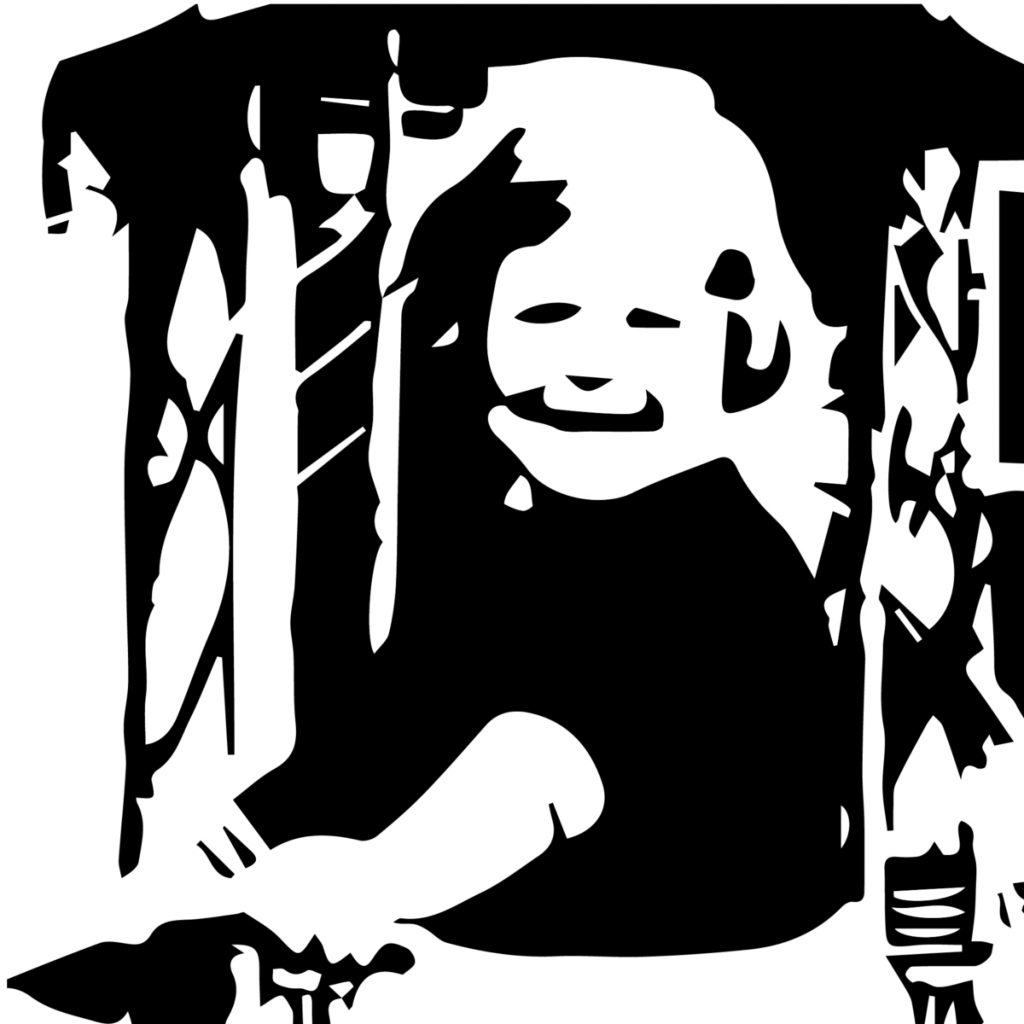
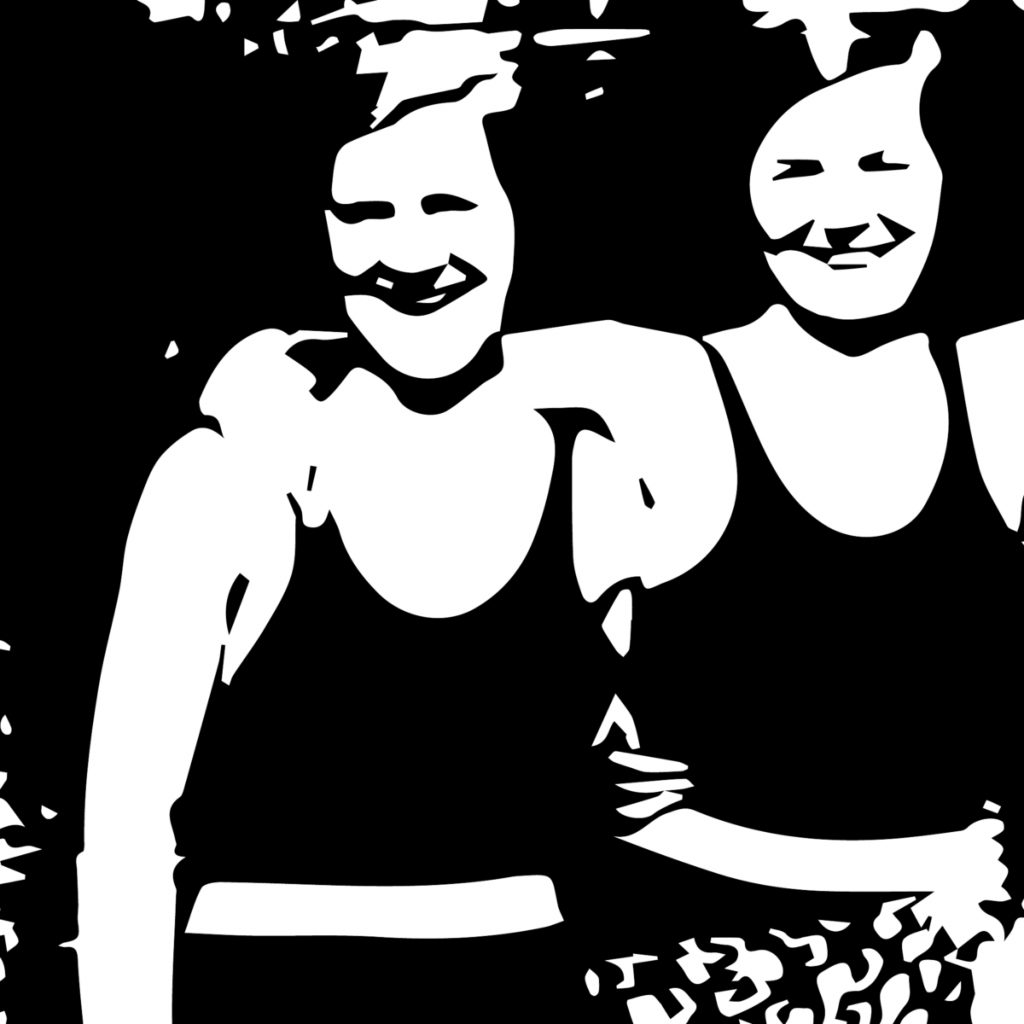
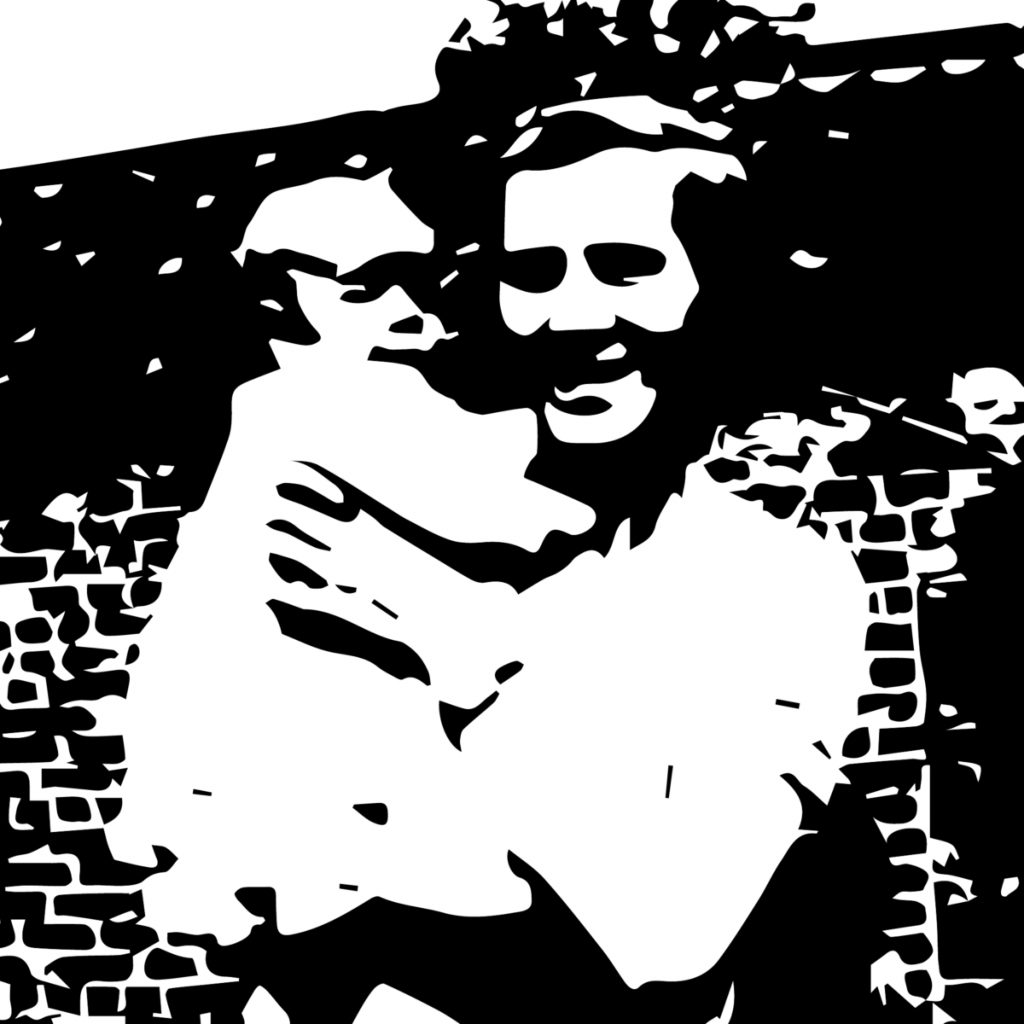
Adobe Illustrator was used to create mock ups for the ink drawings. The source material was my mother’s family photo archive and images were vectorised and black and white to get an impression of how they would look as ink drawings.
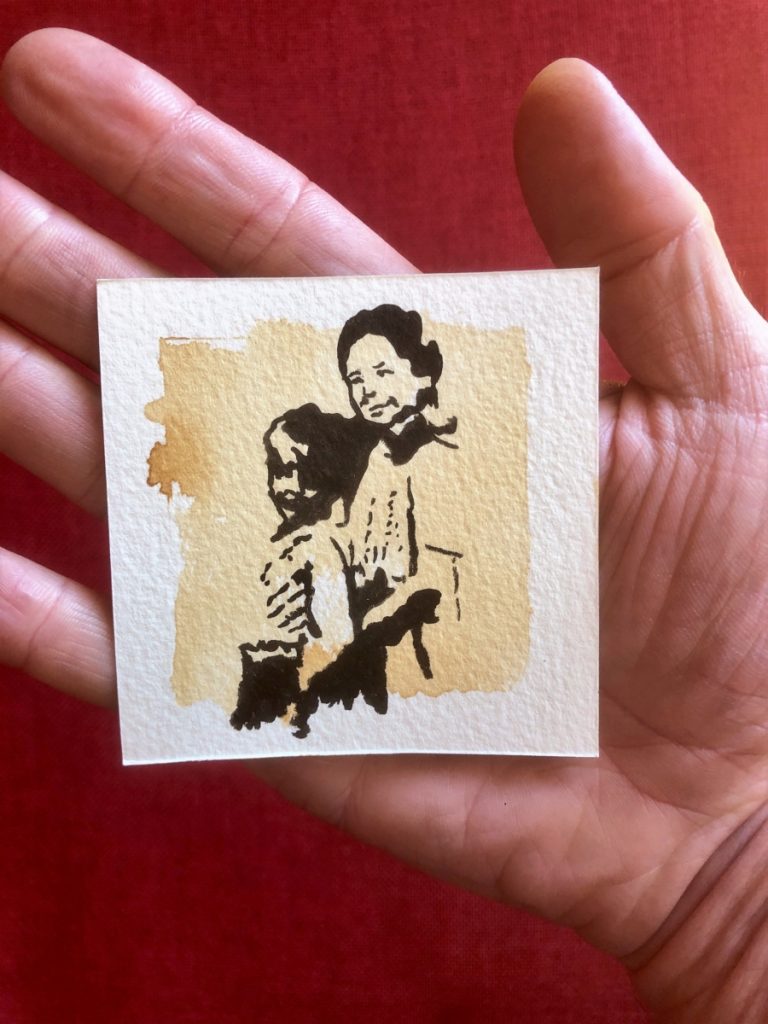
The aim was to reduce the definition sufficiently so that individuals could not be recognised but some expressive facial features still remained. In these mock ups I have consolidated what was learnt from the work of Boltanski and Kabakov. I want to give space for a viewer to add their own family history by showing them a generic scene that will trigger their own memories. I think the level of detail is successful – we get a feel for character and situation but it teeters on the edge of the recognisable. In addition, a mix of individual and family scenes embraces community, connectivity and genealogy which will create empathy in the audience.
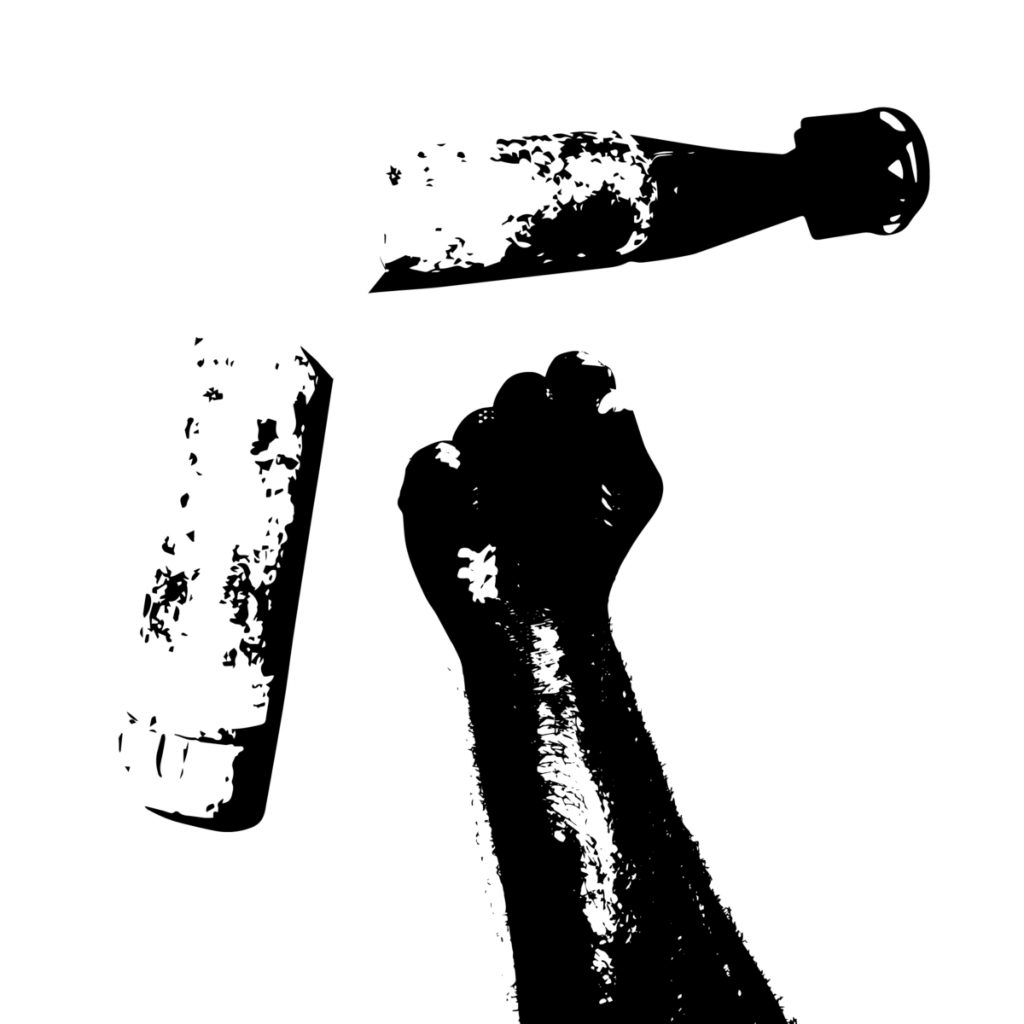
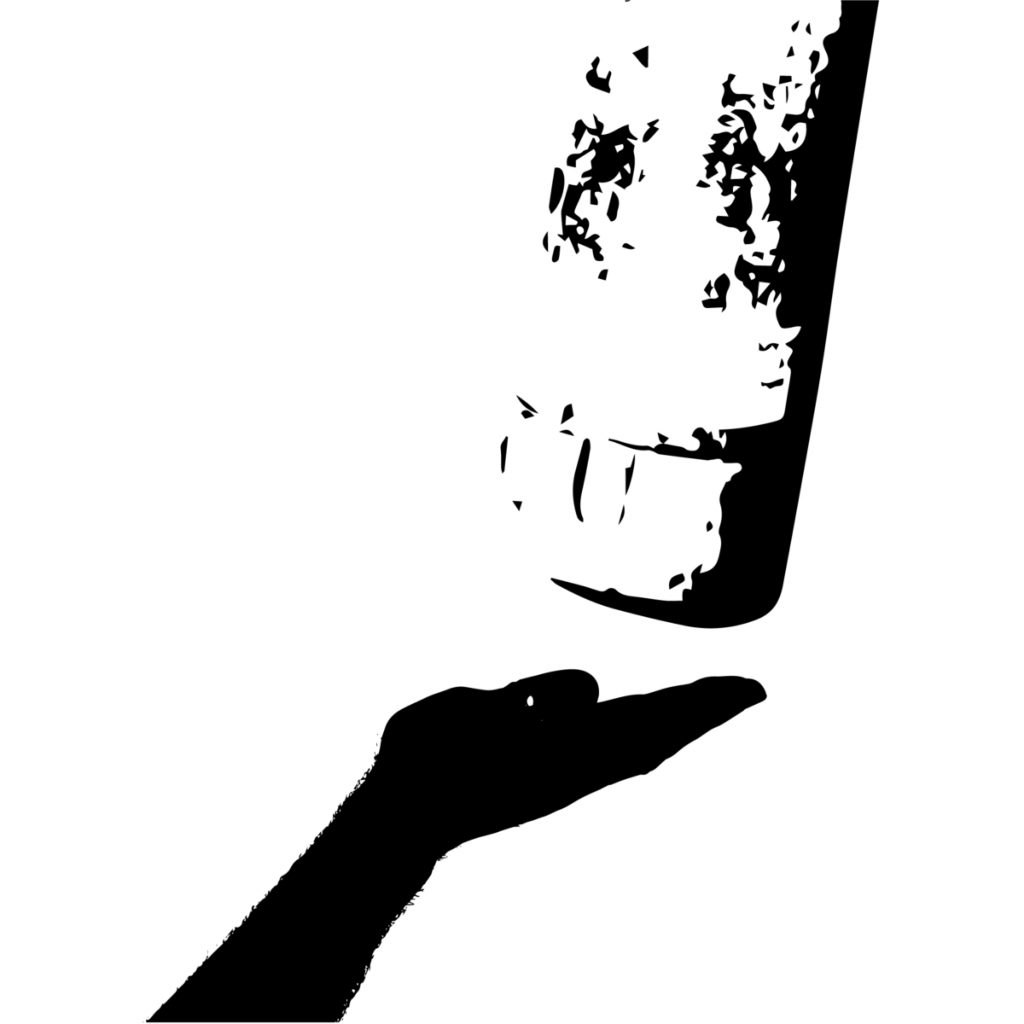
However, within this mix I have created a number of absurd drawings. These disrupt the record of history but being in the same style they force a consideration of reality vs childlike fiction. There is a delicate balance to be monitored in these hypothetical drawings as I don’t want them to stand out and dominate the whole set. The most successful will blend in and require a close inspection to fully appreciate the absurdity of the scene and once one is spotted we hope to motivate viewers to search for more.
But what am I trying to do with this mix up of truth and fiction? I am attempting to disrupt the sacred family photo album as a record of truth. The family album is a prized heirloom and the child is often supervised as they look at it, with the adult reaffirming the stories it contains. What if that child could add their own interpretation of history, their psychological insight and their punctuation of the posed smiles? So I am giving the child permission to scribble their perspective amongst the truth.
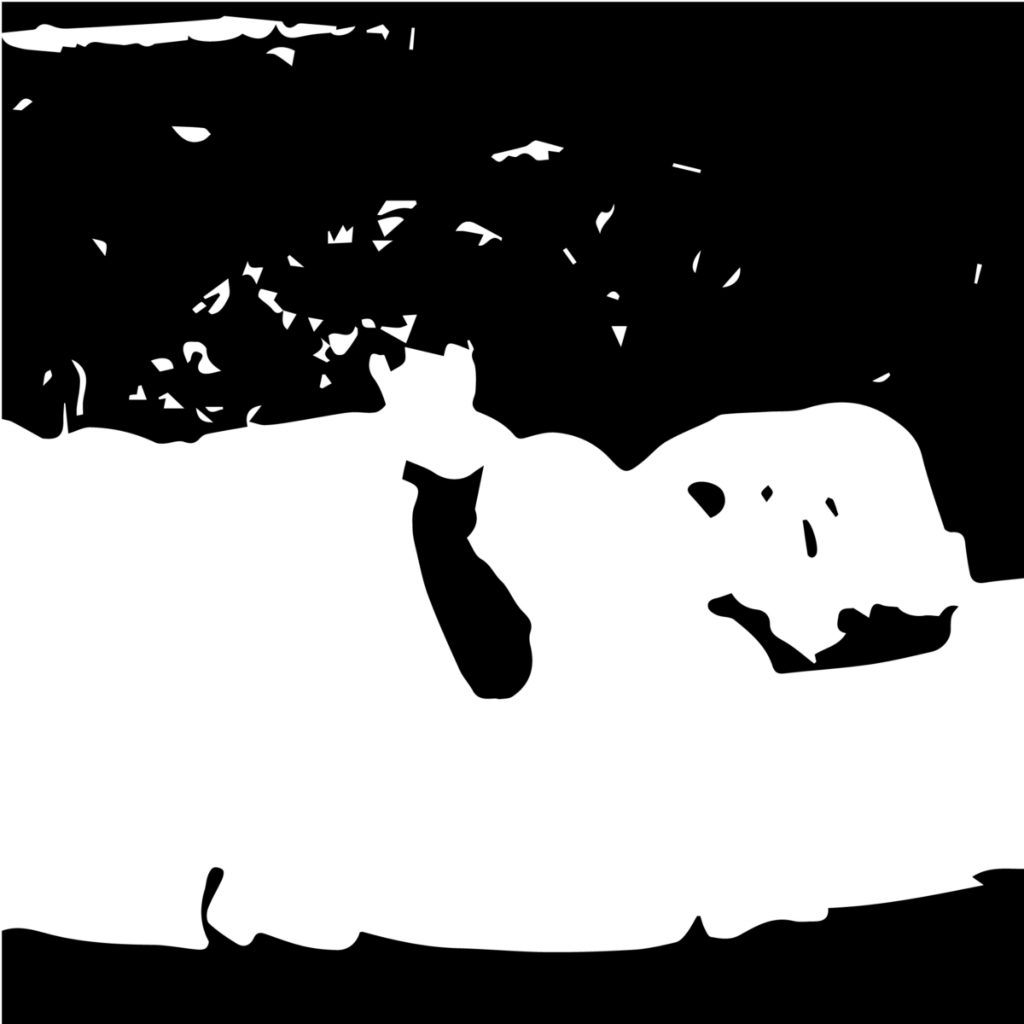
I do need to consolidate which drawings to use based on how successful they are in ink, their visual appeal and how they blend with the milk background. Some of the mock ups below may contain too much black so some of this could be removed if required.
I did think about creating pairs of images, a before and after, or a truth and then an alternate reality. The baby in the pram (below) and what follows is an example of this. Certainly there is ample room for humour here but creating all the images as pairs would quickly reduce the set to a continuous comic book. I think the traumatic event that happened to a village in 1941 is better illustrated by the family album being randomly punctuated by the interruption of unexpected images.
Drawing size
I also reconsidered the size of the proposed ink drawings. The aim is to create them at a size with an embedded historical reference. A size of 8 cm square has a good feel about it as it represents the size of many tattered and faded historical black and white memories in our family albums – small enough to avoid looking like a modern print but just large enough to allow sufficient detail to be included. So this is the size that will be used.
Milk painting style
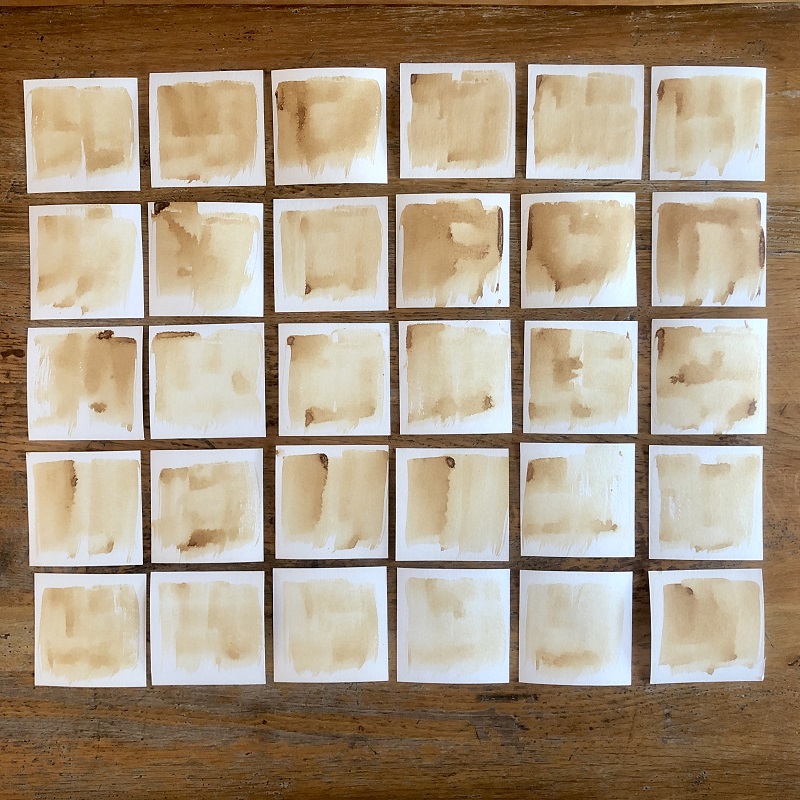
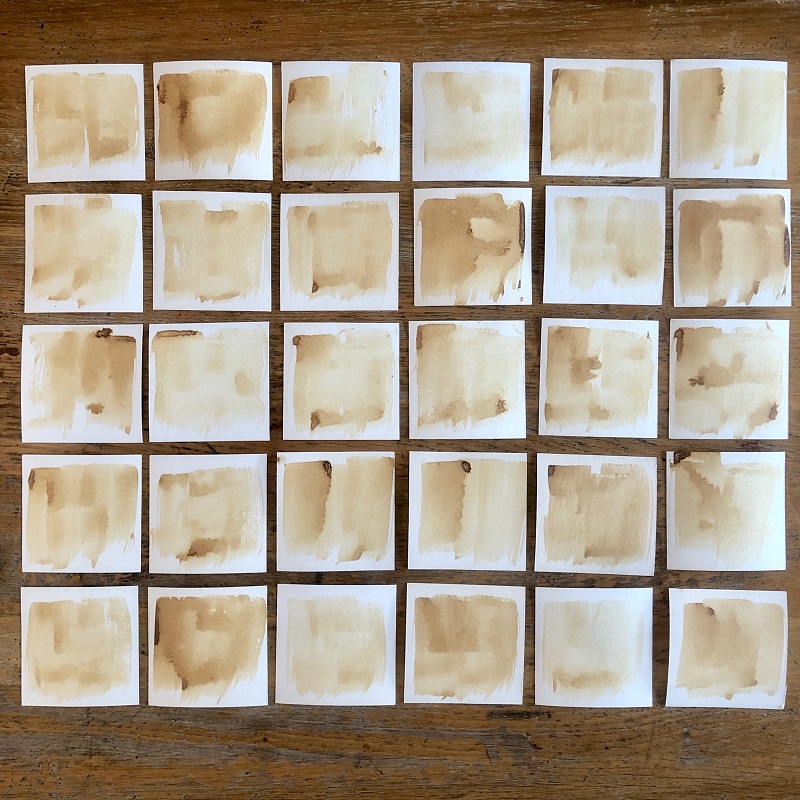
The style of painting the paper with milk was another important consideration. Hence I created a bulk set of milk backgrounds on 8 cm paper squares to consider how they will look as a set. The milk was painted with a broad brush with strokes going in a single direction and a border was left around the edges – nothing too exact but to give the sense of a photographic white edge. The directional nature of the brush strokes work well as a set – I have arranged them so the brush strokes are all vertical, as if the milk is dripping off the paper.
I tried different arrangements as some of the results were darker than others. The set on the right (below) are more randomly arranged and I think the variety of tone enhances the appearance and as a set they are very appealing.
Drawing hanging
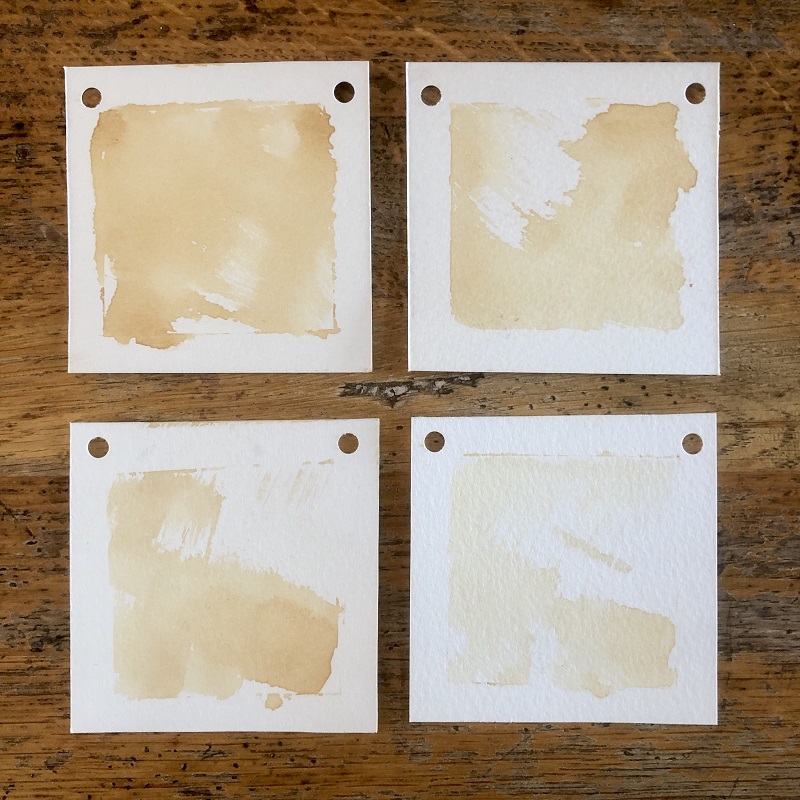
The final consideration at this stage was to consider how the drawings might be hung in the installation. Regardless of the final decision on how to hang them as a group, an attachment to each drawing will be required and this needs to be professional, consistent and not too intrusive. I am clear that I want to hang the drawings in space, so a mechanism to allow this is required. I experimented with various ideas including crocodile clips and plain wire but I feel a hole and ring would be most consistent and give more options for group hanging. Hence I have purchased a set of 1 cm round rings and punched 6 mm holes in some paper to consider the look. The holes are 6 mm from the side and top so hopefully the rings will hang well and look professional when attached.
In essence I feel this mechanism looks delicate and caring which is important to highlight the work rather than detract from it. The ring mechanism gives many options for using wire or string to create an immersive 3D installation which is the outcome I’m looking for.
Next steps
Work will begin on the ink drawings and installation ideas will be sketched in parallel.
